- Manuals
- Brands
- Webasto Manuals
- Remote Starter
- Telestart T100 HTM
- Operating and servicing manual
-
Contents
-
Table of Contents
-
Bookmarks
Quick Links
Related Manuals for Webasto Telestart T100 HTM
Summary of Contents for Webasto Telestart T100 HTM
-
Page 1
Telestart T100 HTM… -
Page 2
Deutsch English Français Italiano Español Nederlands Dansk… -
Page 3
Telestart T100 HTM to your complete satisfaction. With these operating instructions we would like to provide you with an overview of the use of the hand-held transmitter Telestart T100 HTM. -
Page 4
In enclosed rooms (e.g. garages), not even via the timer or Telestart. Care and handling Note the following points to avoid damage to the Telestart T100 HTM: Do not expose to heat above 70 °C (e.g. direct sunlight). Operating temperature between 0 °C and +50 °C. -
Page 5
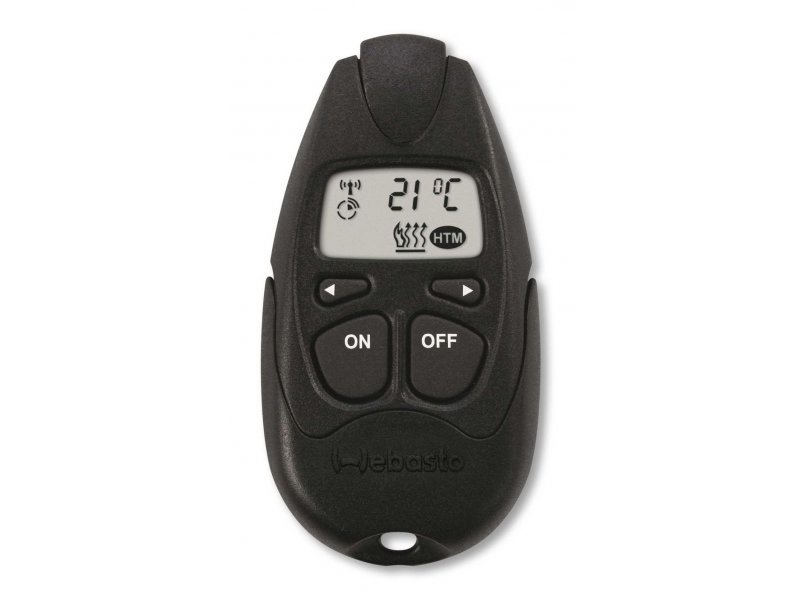
(Thermo Top C, Thermo Top E, Thermo Top P) or the vehicle fan* on and off at a long distance via a wireless link. The Telestart T100 HTM displays the operating status of the heater or the vehicle ventilation using the corresponding function symbol. -
Page 6
Optimum signal transmission is achieved out in the open or from a position higher than the vehicle.In this case, the auxiliary heating system can be operated at a distance of approx. 1000 m from the vehicle. When operating the transmitter, please hold it vertically pointing upward and do not cover the upper side (see photo). -
Page 7
The Telestart T100 HTM is designed so it is possible to switch between the information displays by pressing the buttons. The Telestart T100 HTM returns to its initial status if you do not press a button for 6 seconds. Setting mode… -
Page 8
Basic functions Radio transmission display When radio transmission is taking place between the Telestart T100 HTM and the heater, this is indicated by the symbol in the top left corner of the display. Opening the battery compartment cover 1. Carefully bend the two lugs outwards (take care not to break them!) 2. -
Page 9
Basic functions Battery change Note Return batteries of our products after use at the point of purchase or in its immediate vicinity. Returning them is free. As end user you are legally obliged to return used batteries. Caution! Risk of explosion if battery is replaced by an incorrect type! Dispose of the used batteries according to the instructions. -
Page 10
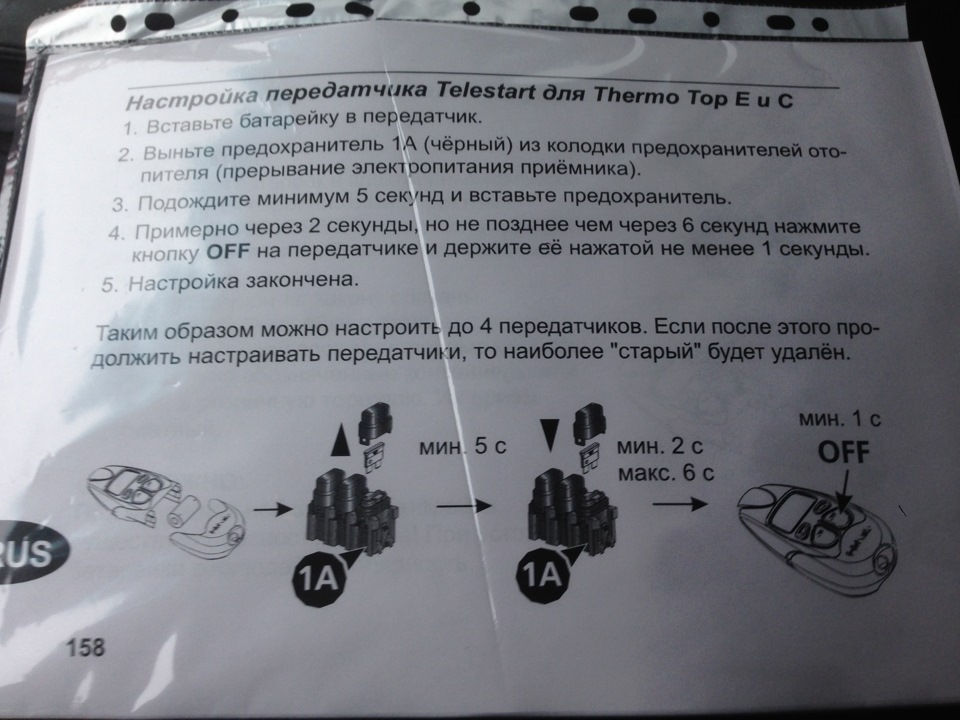
Basic functions Programming Telestart transmitter 1. Place the battery into the battery compartment of the transmitter. 2. Remove fuse 1 A (black) from the heater’s fuse holder (voltage interruption). 3. Wait at least 5 seconds. 4. Replace fuse in heater’s fuse holder and within 5 seconds press the OFF-button on the transmitter for at least 1 second. -
Page 11
Basic functions Displaying and setting the time Displaying Press 1x Setting Press at same time Symbol flashes Setting the time Press at same time Time set… -
Page 12
Basic functions Displaying and setting the mode The mode is displayed by the following symbols: Heating Ventilation (The “parking ventilation“ function is not available with upgrade of auxiliary heaters) Anzeigen Press 3x Einstellen Press at same time Symbol flashes Setting mode Press at same time Mode set… -
Page 13
Immediate funtions To switch on the heater or ventilation* system Hold the Telestart vertical and pointing upwards. press (approx. 1 second) until the following symbol appears: The signal has been received and the heater/ vehicle fan has been switched on. So you can check the switch-on, the display shows the symbol for the mode and the remaining operating time. -
Page 14
Immediate funtions NOTE: In the heating mode, the vehicle’s heating system is to be set to “warm” prior to leaving the vehicle. In the heating and ventilation modes, the vehicle fan switch is to be turned to position 1 in the case of 3-speed blower fans, and to position 2 in the case of 4-speed blowers. -
Page 15
Immediate funtions Switching off with pushbutton (fitted in the vehicle as an option) If the heater was activated by means of Telestart, the pushbutton installed in the vehicle must be pressed once for deactivation. Switching on and off with pushbutton (fitted in the vehicle as an option) The auxiliary heating system or auxiliary ventilation mode is indicated by a light in the pushbutton. -
Page 16
Immediate funtions Switching off using a digital timer If the heater was activated using Telestart, the instant heat button must be pressed twice to deactivate the heater. Checking and setting the operating time The operating time of the heater or the vehicle’s fan can be preset on the transmitter in increments of 10 minutes. -
Page 17
Immediate funtions Displaying and setting the operating time Displaying Press 4x Setting Press at same time Symbol flashes Set the operating time Press at same time Operating time set… -
Page 18
Immediate funtions Displaying the temperature (information from receiver) Press 2x symbol only appears when the heater / vehicle fan is operating. Please note: The displayed temperature refers to the temperature inside the vehicle close to the location where the temperature sensor is installed. In addition, major temperature fluctuations may result in the actual temperature at the temperature sensor only being displayed after a delay. -
Page 19
Automatic HTM heating time management Heating time management enables automatic preheating (not ventilation) of the vehicle for a selected departure time. The system calculates the preheating time of the auxiliary heating system depending on the temperature inside of the vehicle. The interior temperature achieved at the departure time can be influence using comfort levels (C1 –… -
Page 20
Automatic Displaying, setting and activating the departure time Displaying Press 2x Setting Press at same time Symbol flashes Setting the departure time Press at same time Departure time set Important: The departure time can only be activated in the departure time menu. The heater is switched on directly if you exit the menu. -
Page 21
Automatic Activation Hold the Telestart vertical and pointing upwards. Press (approx. 1 second) until the following symbol appears: The signal has been received and the departure time has been activated. Error during signal transmission. Move to a different location and retransmit. -
Page 22
Automatic Deactivating the departure time Press 2x Hold the Telestart vertical and pointing upwards Press (approx. 1 second) until the following symbol appears: The signal has been received and the departure time has been deactivated. The symbol goes out. Error during signal transmission. Move to a different location and retransmit. -
Page 23
Automatic Modifying the activated departure time To change an activated departure time, it must first be deactivated (see Deactivating the departure time). Following this, it is possible to set the new departure time (see Displaying, setting and activating the departure time). -
Page 24
Automatic Displaying and changing the comfort level Displaying Press 3x Changing Press at same time Display flashes Selecting the comfort level Press at same time Comfort level set Note: The comfort level cannot be changed if a departure time activated. The departure time must be deactivated first. -
Page 25
I tilfælde af en flersproget udgave er den tyske version gældende. Om det förekommer en flerspråkig version är den tyska bindande. Webasto AG Hvis det finnes en flerspråklig versjon, er det den tyske Kraillinger Straße 5 som har forrang. D — 82131 Stockdorf Useampikielisten versioiden yhteydessä…

Что такое Telestart T100 HTM?
Telestart T100 HTM — это передвижная система предварительного подогрева двигателя автомобиля. Она позволяет включить подогрев двигателя автомобиля издалека, с помощью специального пульта дистанционного управления. Это очень удобно в холодное время года, когда необходимо согреть двигатель перед поездкой.
Инструкция по использованию Telestart T100 HTM
Оперирование системой Telestart T100 HTM очень просто и удобно. Для начала необходимо приобрести систему у официального дилера или установочного центра. После установки системы на автомобиль, необходимо ознакомиться с инструкцией по использованию.
Шаг 1: Подключение пульта дистанционного управления
- С помощью провода, прилагаемого к Telestart T100 HTM, подключите пульт дистанционного управления к системе.
- Убедитесь, что соединение прочное и надежное.
Шаг 2: Включение подогрева двигателя
- Убедитесь, что автомобиль находится в нейтральном положении (если у вас автоматическая коробка передач) или включена нейтральная передача (если у вас механическая коробка передач).
- Нажмите кнопку «Подогрев» на пульте дистанционного управления.
- Дождитесь, пока индикатор на пульте начнет мигать.
- Подождите, пока двигатель прогреется. Время подогрева зависит от температуры окружающей среды и типа двигателя.
Шаг 3: Отключение подогрева двигателя
- Нажмите кнопку «Выключить» на пульте дистанционного управления.
- Убедитесь, что двигатель полностью остановился и отключается.
Преимущества использования Telestart T100 HTM
Польза от использования системы Telestart T100 HTM весьма заметна. Она позволяет экономить время и усилия при подготовке автомобиля к поездке. Несмотря на то, что систему приходится дополнительно устанавливать на автомобиль, она обеспечивает комфортное использование автомобиля в любое время года.
- Удобство использования — возможность включения подогрева двигателя издалека.
- Экономия времени — нет необходимости ждать прогрева двигателя, система сделает все сама.
- Увеличение срока службы двигателя — подогрев двигателя перед поездкой уменьшает его износ и повышает надежность работы.
- Экономия топлива — прогретый двигатель расходует меньше топлива на холодном ходу.
Использование Telestart T100 HTM — это простой и эффективный способ улучшить качество эксплуатации автомобиля в холодное время года. Установите систему на свой автомобиль и наслаждайтесь комфортной поездкой даже в самый суровый мороз.
Видео по теме
Webasto telestart T100 HTM
Webasto Telestart T100 HTM podłączenie i obsługa
Webasto Telestart T100 HTM продано 😁
- Manuals
- Brands
- Webasto Manuals
- Remote Starter
- Telestart T100 HTM
- Operating and servicing manual
-
Contents
-
Table of Contents
-
Bookmarks
Quick Links
Related Manuals for Webasto Telestart T100 HTM
Summary of Contents for Webasto Telestart T100 HTM
-
Page 1
Telestart T100 HTM… -
Page 2
Deutsch English Français Italiano Español Nederlands Dansk… -
Page 3
Telestart T100 HTM to your complete satisfaction. With these operating instructions we would like to provide you with an overview of the use of the hand-held transmitter Telestart T100 HTM. -
Page 4
In enclosed rooms (e.g. garages), not even via the timer or Telestart. Care and handling Note the following points to avoid damage to the Telestart T100 HTM: Do not expose to heat above 70 °C (e.g. direct sunlight). Operating temperature between 0 °C and +50 °C. -
Page 5
(Thermo Top C, Thermo Top E, Thermo Top P) or the vehicle fan* on and off at a long distance via a wireless link. The Telestart T100 HTM displays the operating status of the heater or the vehicle ventilation using the corresponding function symbol. -
Page 6
Optimum signal transmission is achieved out in the open or from a position higher than the vehicle.In this case, the auxiliary heating system can be operated at a distance of approx. 1000 m from the vehicle. When operating the transmitter, please hold it vertically pointing upward and do not cover the upper side (see photo). -
Page 7
The Telestart T100 HTM is designed so it is possible to switch between the information displays by pressing the buttons. The Telestart T100 HTM returns to its initial status if you do not press a button for 6 seconds. Setting mode… -
Page 8
Basic functions Radio transmission display When radio transmission is taking place between the Telestart T100 HTM and the heater, this is indicated by the symbol in the top left corner of the display. Opening the battery compartment cover 1. Carefully bend the two lugs outwards (take care not to break them!) 2. -
Page 9
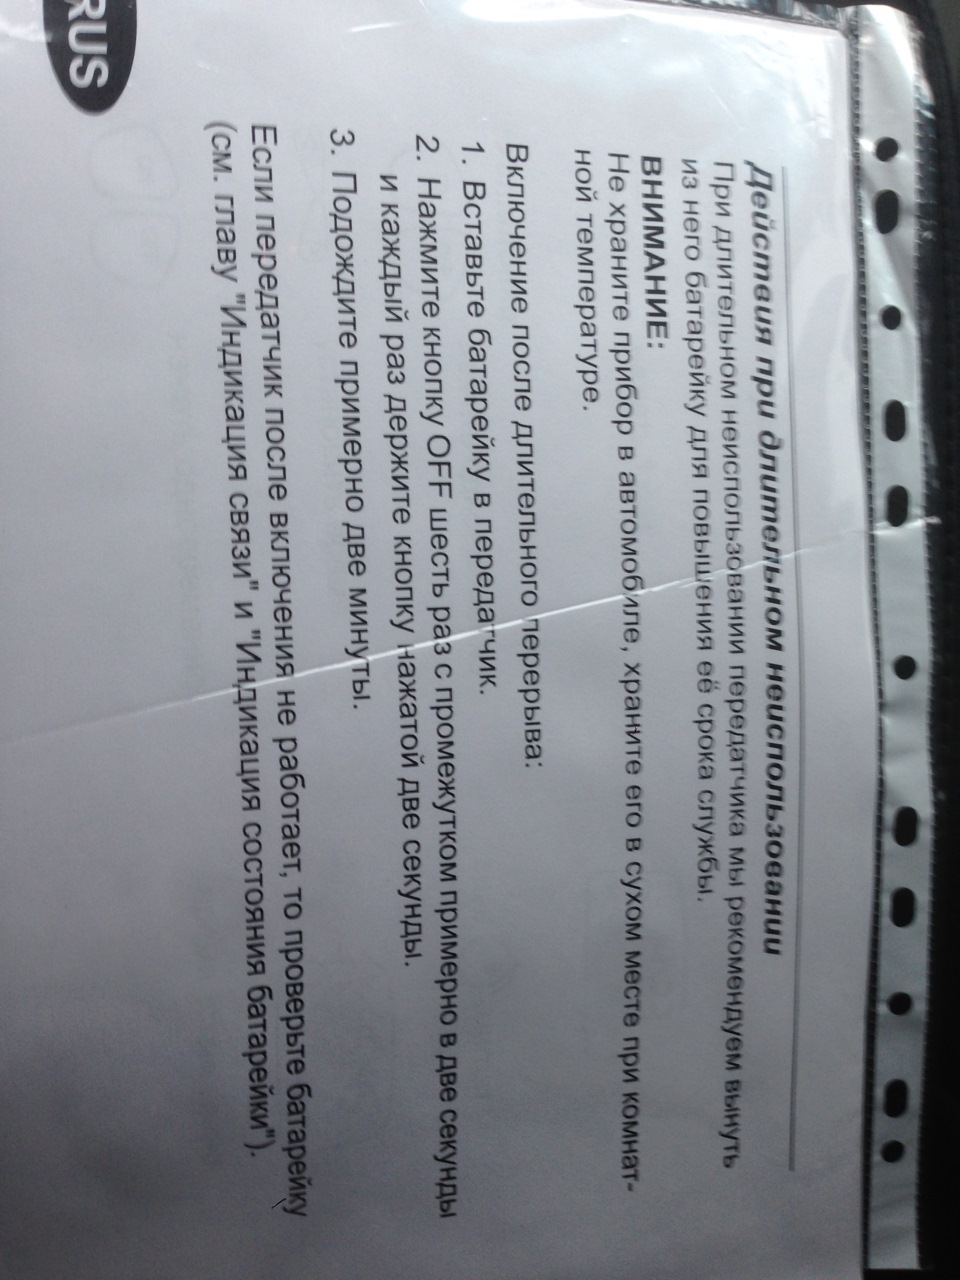
Basic functions Battery change Note Return batteries of our products after use at the point of purchase or in its immediate vicinity. Returning them is free. As end user you are legally obliged to return used batteries. Caution! Risk of explosion if battery is replaced by an incorrect type! Dispose of the used batteries according to the instructions. -
Page 10
Basic functions Programming Telestart transmitter 1. Place the battery into the battery compartment of the transmitter. 2. Remove fuse 1 A (black) from the heater’s fuse holder (voltage interruption). 3. Wait at least 5 seconds. 4. Replace fuse in heater’s fuse holder and within 5 seconds press the OFF-button on the transmitter for at least 1 second. -
Page 11
Basic functions Displaying and setting the time Displaying Press 1x Setting Press at same time Symbol flashes Setting the time Press at same time Time set… -
Page 12
Basic functions Displaying and setting the mode The mode is displayed by the following symbols: Heating Ventilation (The “parking ventilation“ function is not available with upgrade of auxiliary heaters) Anzeigen Press 3x Einstellen Press at same time Symbol flashes Setting mode Press at same time Mode set… -
Page 13
Immediate funtions To switch on the heater or ventilation* system Hold the Telestart vertical and pointing upwards. press (approx. 1 second) until the following symbol appears: The signal has been received and the heater/ vehicle fan has been switched on. So you can check the switch-on, the display shows the symbol for the mode and the remaining operating time. -
Page 14
Immediate funtions NOTE: In the heating mode, the vehicle’s heating system is to be set to “warm” prior to leaving the vehicle. In the heating and ventilation modes, the vehicle fan switch is to be turned to position 1 in the case of 3-speed blower fans, and to position 2 in the case of 4-speed blowers. -
Page 15
Immediate funtions Switching off with pushbutton (fitted in the vehicle as an option) If the heater was activated by means of Telestart, the pushbutton installed in the vehicle must be pressed once for deactivation. Switching on and off with pushbutton (fitted in the vehicle as an option) The auxiliary heating system or auxiliary ventilation mode is indicated by a light in the pushbutton. -
Page 16
Immediate funtions Switching off using a digital timer If the heater was activated using Telestart, the instant heat button must be pressed twice to deactivate the heater. Checking and setting the operating time The operating time of the heater or the vehicle’s fan can be preset on the transmitter in increments of 10 minutes. -
Page 17
Immediate funtions Displaying and setting the operating time Displaying Press 4x Setting Press at same time Symbol flashes Set the operating time Press at same time Operating time set… -
Page 18
Immediate funtions Displaying the temperature (information from receiver) Press 2x symbol only appears when the heater / vehicle fan is operating. Please note: The displayed temperature refers to the temperature inside the vehicle close to the location where the temperature sensor is installed. In addition, major temperature fluctuations may result in the actual temperature at the temperature sensor only being displayed after a delay. -
Page 19
Automatic HTM heating time management Heating time management enables automatic preheating (not ventilation) of the vehicle for a selected departure time. The system calculates the preheating time of the auxiliary heating system depending on the temperature inside of the vehicle. The interior temperature achieved at the departure time can be influence using comfort levels (C1 –… -
Page 20
Automatic Displaying, setting and activating the departure time Displaying Press 2x Setting Press at same time Symbol flashes Setting the departure time Press at same time Departure time set Important: The departure time can only be activated in the departure time menu. The heater is switched on directly if you exit the menu. -
Page 21
Automatic Activation Hold the Telestart vertical and pointing upwards. Press (approx. 1 second) until the following symbol appears: The signal has been received and the departure time has been activated. Error during signal transmission. Move to a different location and retransmit. -
Page 22
Automatic Deactivating the departure time Press 2x Hold the Telestart vertical and pointing upwards Press (approx. 1 second) until the following symbol appears: The signal has been received and the departure time has been deactivated. The symbol goes out. Error during signal transmission. Move to a different location and retransmit. -
Page 23
Automatic Modifying the activated departure time To change an activated departure time, it must first be deactivated (see Deactivating the departure time). Following this, it is possible to set the new departure time (see Displaying, setting and activating the departure time). -
Page 24
Automatic Displaying and changing the comfort level Displaying Press 3x Changing Press at same time Display flashes Selecting the comfort level Press at same time Comfort level set Note: The comfort level cannot be changed if a departure time activated. The departure time must be deactivated first. -
Page 25
I tilfælde af en flersproget udgave er den tyske version gældende. Om det förekommer en flerspråkig version är den tyska bindande. Webasto AG Hvis det finnes en flerspråklig versjon, er det den tyske Kraillinger Straße 5 som har forrang. D — 82131 Stockdorf Useampikielisten versioiden yhteydessä…
D RU Инструкция по эксплуатации и техническому обслуживанию <strong>T100</strong> <strong>HTM</strong> Общее Глубокоуважая покупательница, глубокоуважаемый покупатель Webasto! Мы рады, что Вы приняли решение в пользу данного продукта Webasto. Мы исходим из того, что Вы полностью удовлетворены данным в расположенной на фирме мастерской/сервисном бюро разъяснением, как работает Ваш новый обогреватель и как следует его обслуживать. В данной инструкции по эксплуатации и техническому обслуживанию мы хотели бы дать Вам дополнительный обзор сведений по эксплуатации и применению системы <strong>Telestart</strong> <strong>T100</strong> <strong>HTM</strong>. 122
Обогреватель нельзя эксплуатировать: Пожаро- и взрывоопасность, а также опасность удушья � на топливозаправочных станциях и нефтехранилищах. � в местах, где возможно образование горючих паров или пыли (например, вблизи от мест образования паров топлива, угольной или древесной пыли, а также в зернохранилищах). � вблизи от воспламеняющихся материалов, как например, сухая трава и сухие листья, картонажные материалы, бумага и т.д. � в закрытых помещениях (например, в гараже), также и с использованием таймера или дистанционного пульта. Уход и обращение Во избежание повреждения системы <strong>Telestart</strong>s <strong>T100</strong> <strong>HTM</strong> следует принимать во внимание следующее: � не подвергать нагреву свыше 70 °C (например, прямыми солнечными лучами). � рабочая температура в диапазоне от 0 °C до +50 °C. � хранить только в сухом помещении с малой запыленностью. � чистку дисплеев производить только чистой и сухой салфеткой. 123 D RU
- Page 1: Telestart T100 HTM
- Page 5 and 6: Общие указания по у
- Page 7 and 8: Основные функции «З
- Page 9 and 10: Основные функции П
- Page 11 and 12: Моментальные функц
- Page 13 and 14: Моментальные функц
- Page 15 and 16: Моментальные функц
- Page 17 and 18: Автоматика Индикац
- Page 19 and 20: Отмена момента вре
- Page 21 and 22: Индикация и измене
249 ₽
Инструкция (руководство пользователя) на Пульт управления WEBASTO Telestart T100 HTM
Артикул: webasto-telestart-t100-htm
Категория: WEBASTO
-
Описание
-
Детали
Описание
Инструкцию по эксплуатации WEBASTO Telestart T100 HTM на русском языке можно будет скачать в личном кабинете после оформления и оплаты заказа.
Детали
| Формат файла |
|
|---|---|
| Размер инструкции в кб |
1426 |
Скачать инструкции
Здесь можно скачать инструкции пользователя и инструкции по установке автосигнализаций (Pantera, APS, Sheriff, Alligator, Bruin, Cenmax, Centurion, Pandora, Scher-Khan, StarLine, Tomahawk, Challenger, Clifford, Excellent, Gorgon, Inspector, Jaguar, Leopard, Mongoose, Partisan, Phantom, Pharaon, Red Scorpio, Audiovox, Black Bug, DF, Fighter, Guard, Kopel, MED, Meritec, MS, Quasar, Reef, Terminator, Zorro, Mystery, Cheetah и др.)
|
С помощью системы Webasto-Telestart T100 HTM можно с большого расстояния включать и выключать беспроволочным путем следующие отопители Webasto: – Thermo Top C, Thermo Top E, Thermo Top P – или вентилятор автомобиля. С помощью соответствующих символов система Telestart T100 HTM указывает режим работы отопителя или вентилятора автомобиля. Для включения вентилятора автомобиля (проветривание салона) следует осуществить изменение режима на передатчике. По истечении заданной продолжительности работы после включения стояночный нагрев снова выключается самостоятельно или с помощью нагревательной автоматики. В зависимости от температуры внутри автомобиля и выбранной ступени комфортности регулятор «Heating-Time-Management» (регулятор «Обогрев- время») определяет продолжительность обогрева и момент включения отопителя. Для этого нужно только активировать режим автоматики и задать требуемое время отъезда. Оптимальная передача сигнала достигается на открытом пространстве или с возвышенной точки. Таким путем возможно управление стояночным обогревом автомобиля с расстояния около 1000 м. В сильно застроенной местности прием соответственно ограничивается. |
Создал
|
||||||||||||
Добавить комментарий
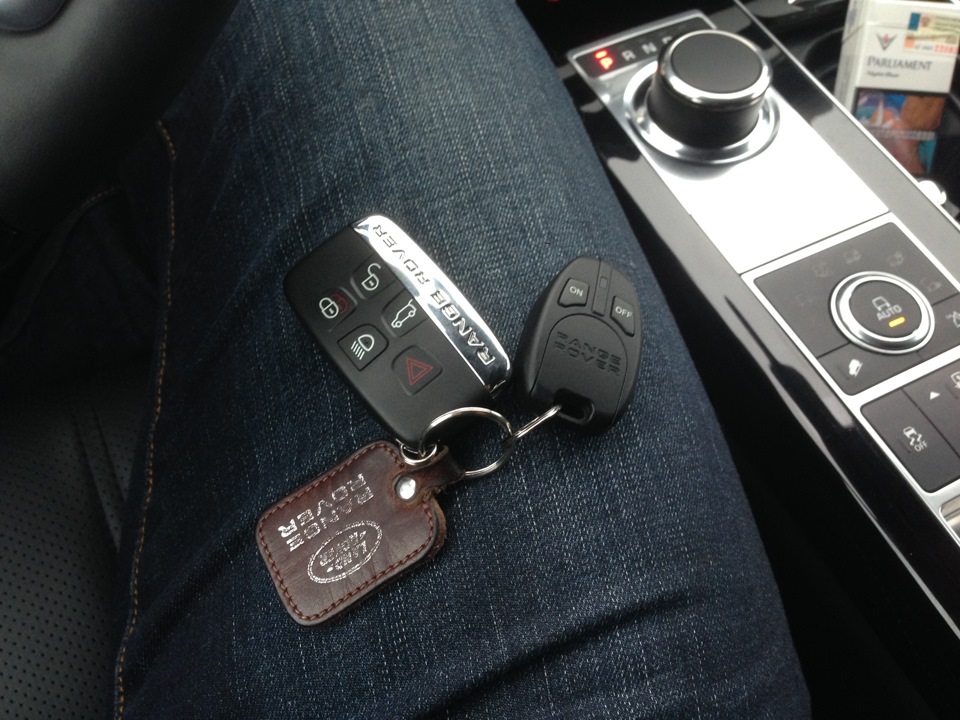
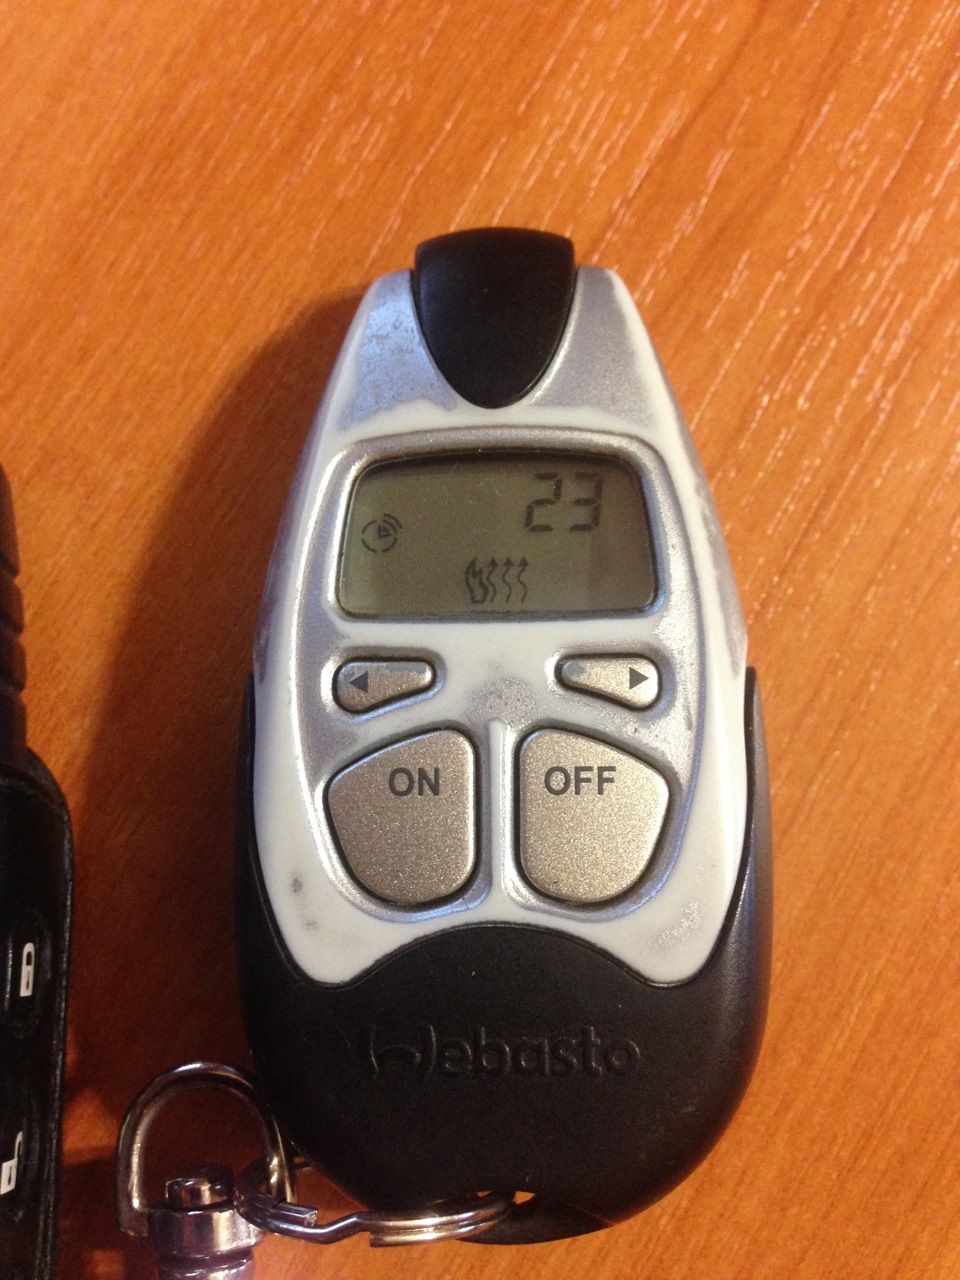
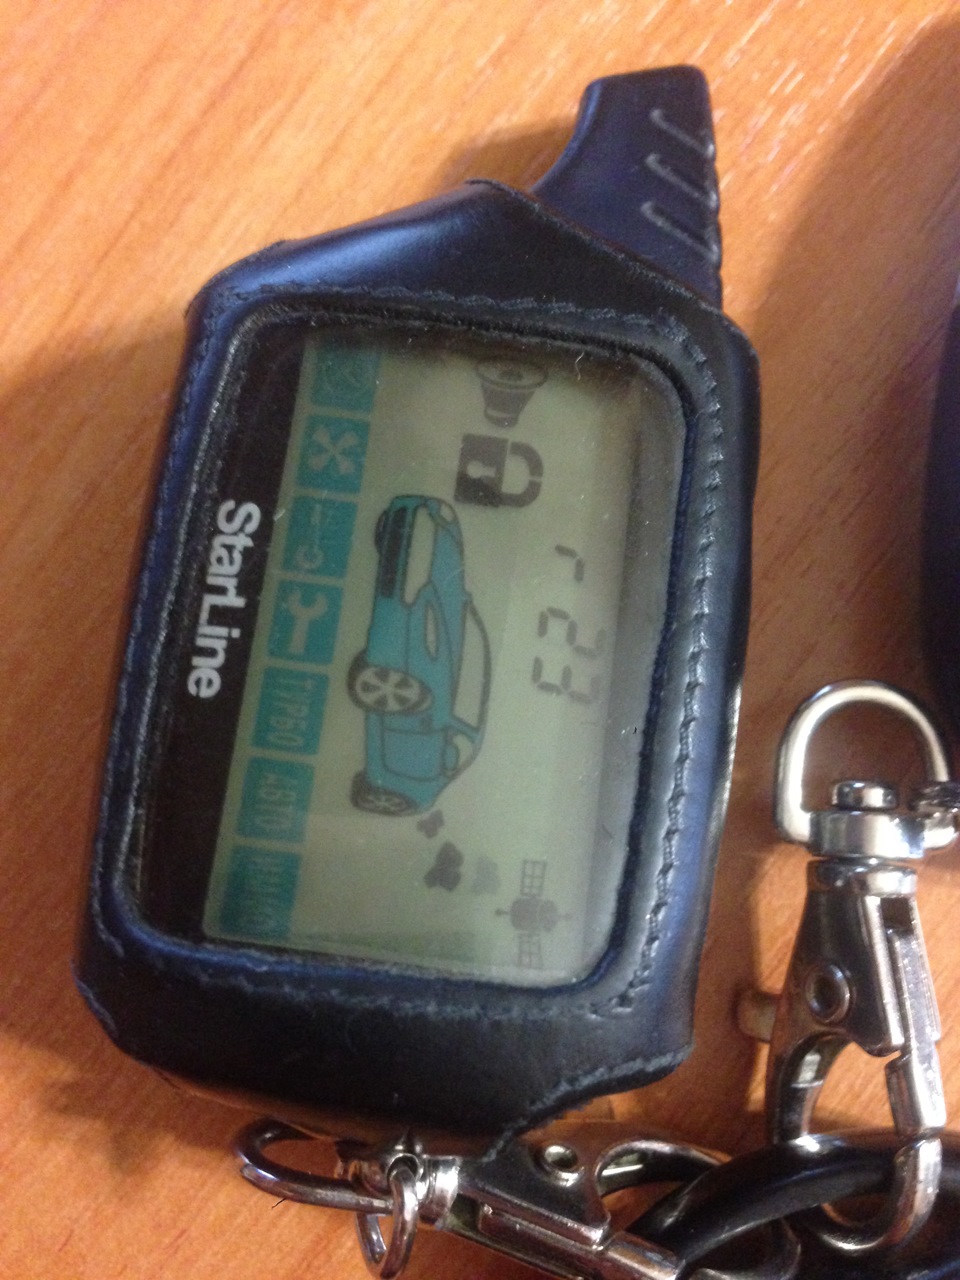
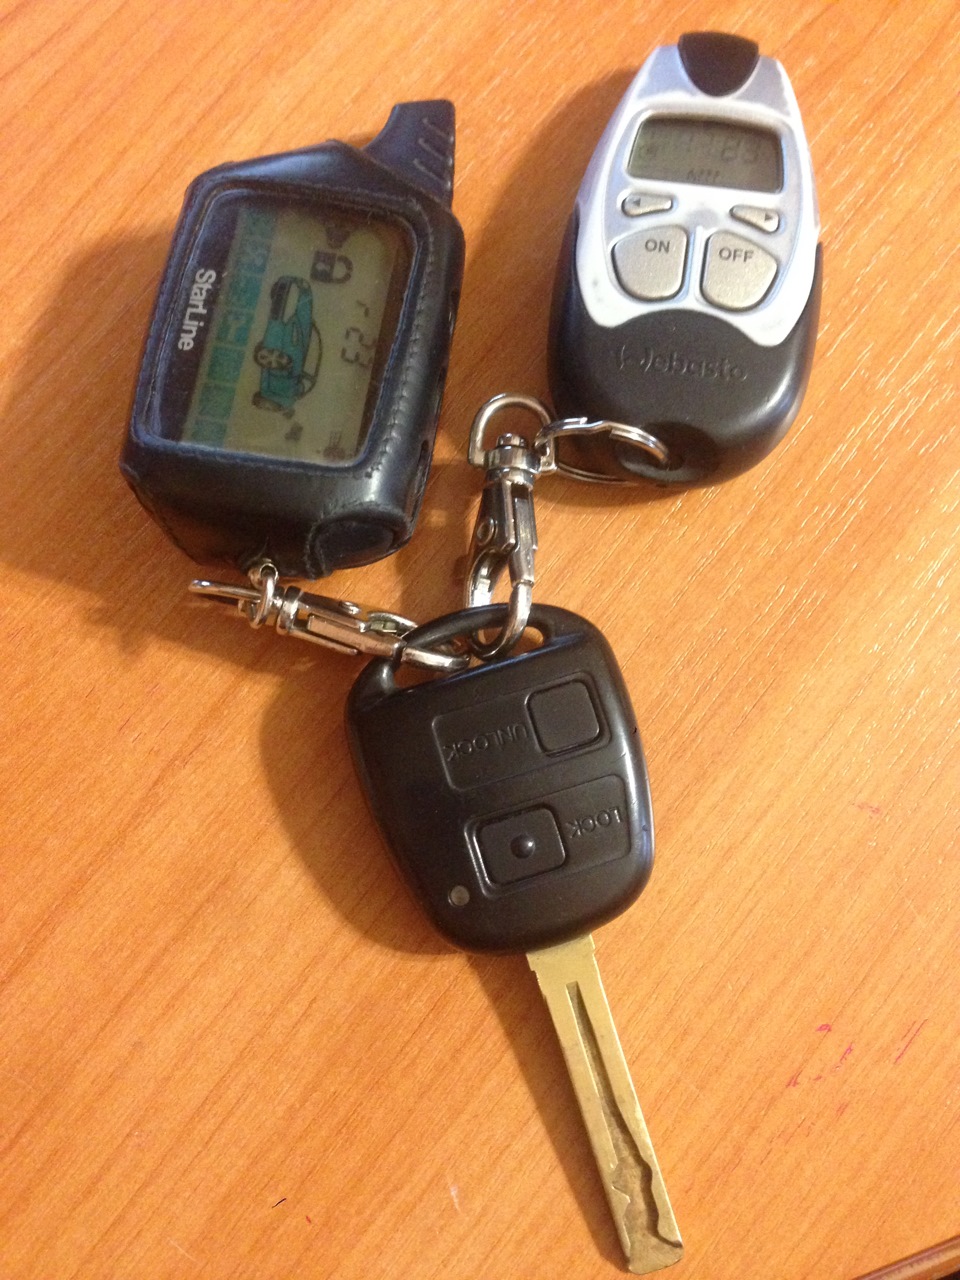
В догонку к вебасте я доустановил телестарт. Не особо нужная вещь оказалась. Но пусть будет. Так как печка от вебасты не включается, основную функцию эта система теряет. Можно бы было установить степень комфорта тепла в салоне, и она бы сама определяя уличную температуру понимала во сколько нужно включиться чтобы к назначенному времени в машине уже было тепло. А так вкл, выкл, и температуру в салоне показывает. Но ее показывает и брелок сигнализации. А включить вебасту можно и с брелка сигнализации и с телефона. Ну и еще видно на дисплее что она работает. А если отключиться то вроде будет видно что она перестала работать. Я еще сам не доконца с этой системой разобрался. \\\\\\Прочитал всю инструкцию от нее, Ничего сверх естественного она не делает. Стоит новая охренеть сколько денег. А на сегодняшний день эта модель снята с производства. Желание обзавестись такой штукой появилось после пользования ровера, где эта система стоит с завода. Но там даже дисплея нету. Лишним не будет, но новую бы я точно не купил. Еще раз спалил пульт от вебасты (это уже второй раз). Как потом разобрался, при подключении телестарта (а там ничего сложного нет), я перецепил штекер от вебасты который шел к пульту, на телестарт, а от телестарта на пульт. Но не переставил провод от сигналки который выходил к пульту, я его ткнул к телестарту. Может из за этого. Пульт перегорел. И опять друзья отдали свой пульт. Пару дней назад друг снял круглый пульт и поставил нового образца, а это пошел ко мне. Не пришлось покупать. В общем пока заморачивался с вебастой по своей неопытности спалил два пульта. И там оказалось нужно на впаянный контакт ставить резистор или транзистор на 1 килоом. Это мера предосторожности. И еще. Батарейка в пульт стоит столько что я никогда бы не подумал что она в обще
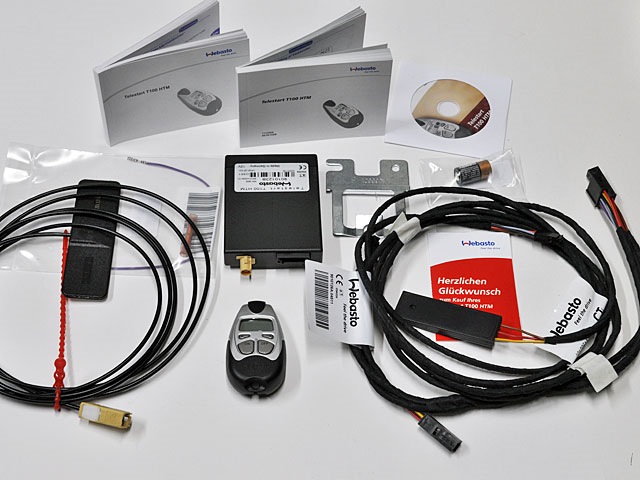
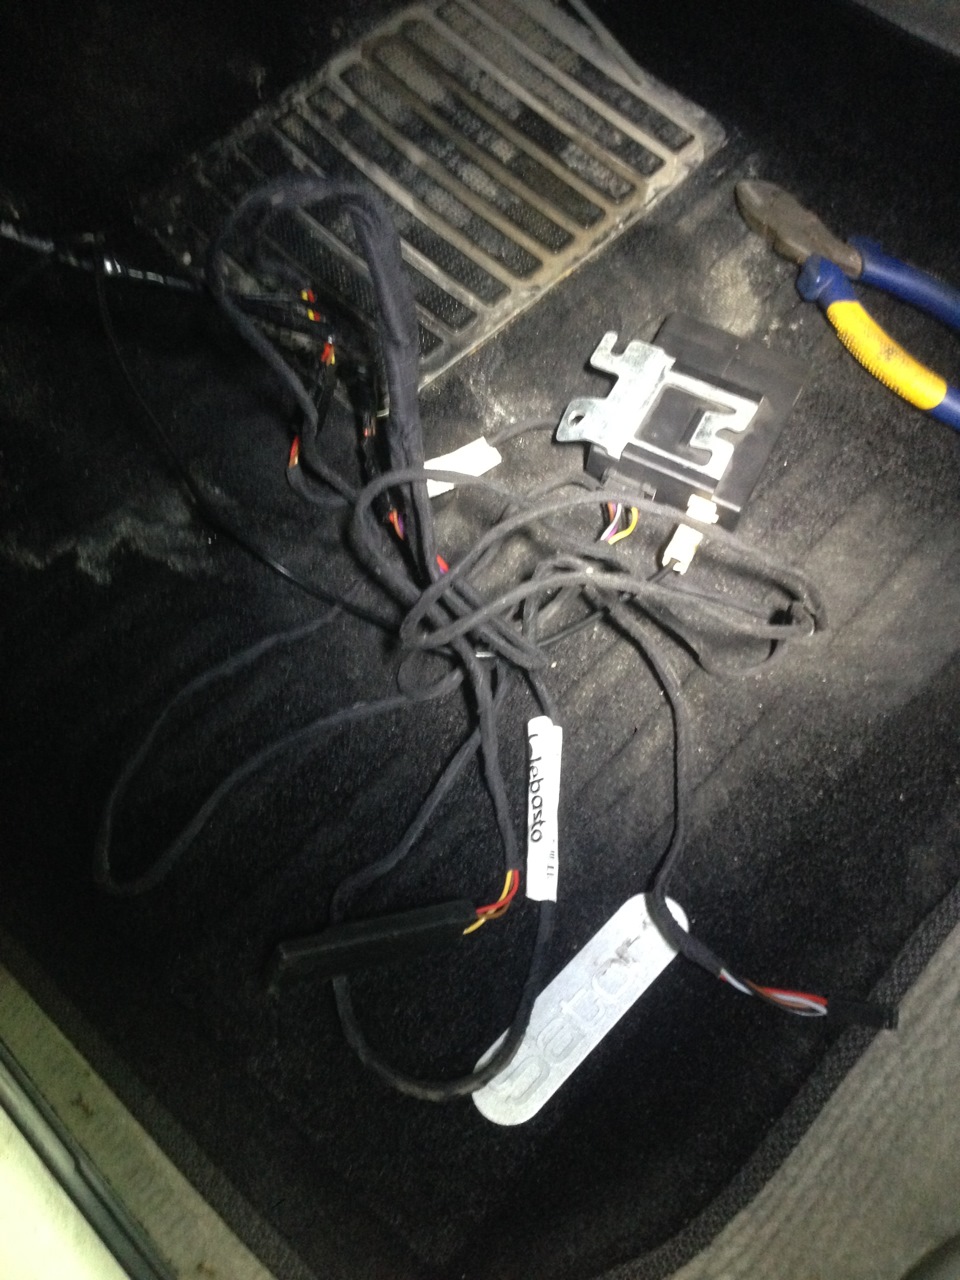
Вот весь комплект
Красивый такой
Нужный момент
еще один нужный момент
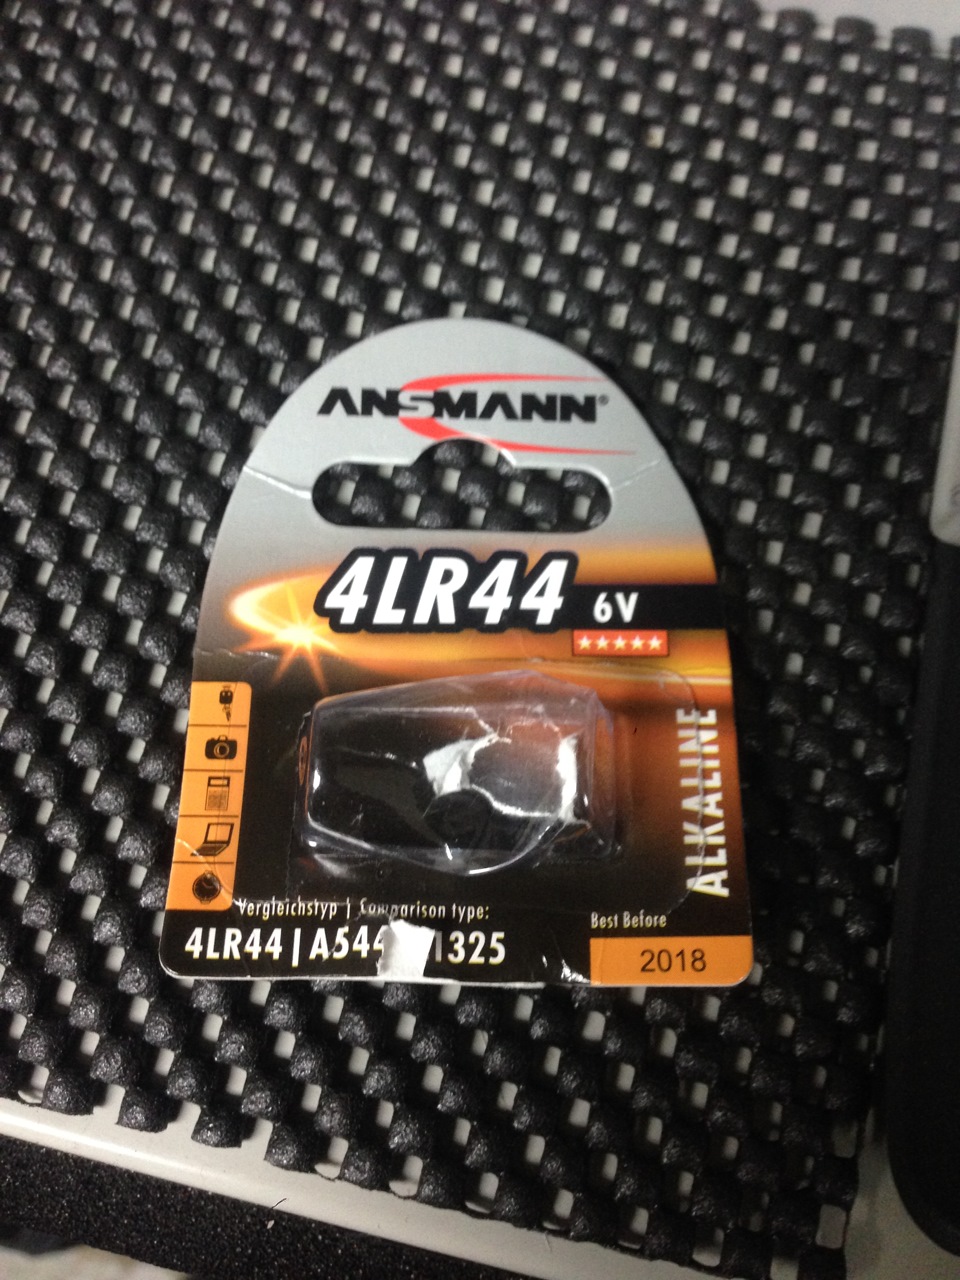
Заменитель оригинальной батарейки
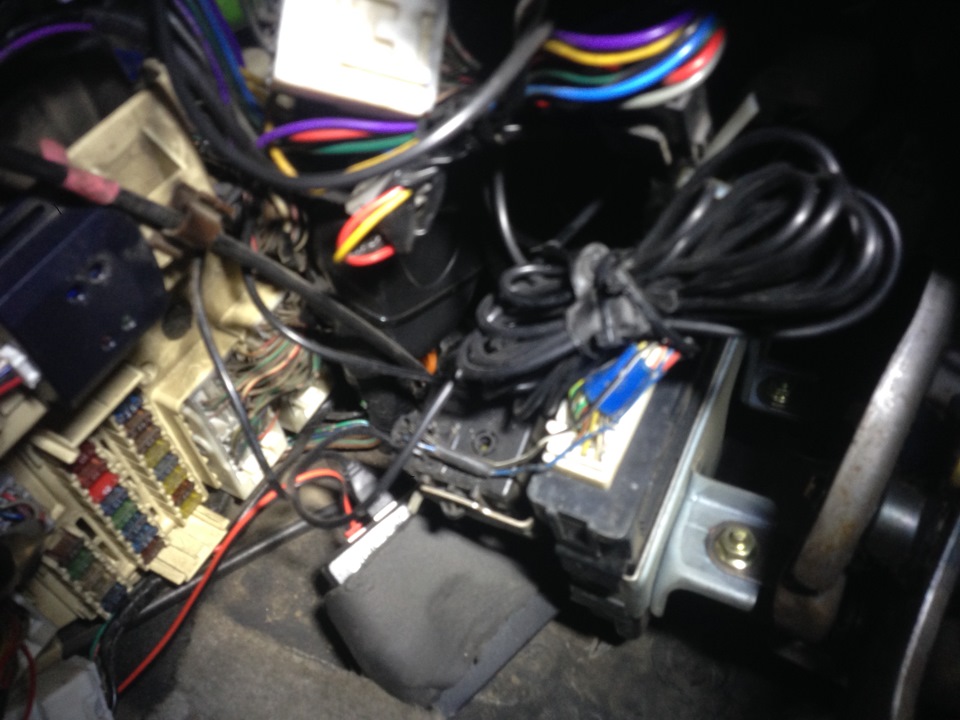
Процесс
Здесь нужно найти куда ее прикрутить
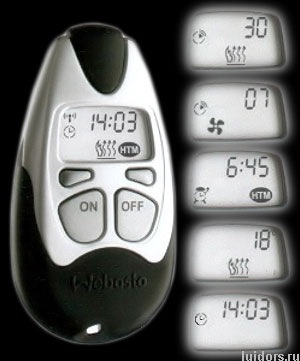
Возможности пульта
Вот от сюда пришли мысли о телестарте
может столько стоить. Нашел только аналог ее. Пишут что таких хватает очень не на долго. А родную и взять то негде, кроме как в интернете.
Интернет-магазин на Яндекс Картах
Москва, Матросская Тишина Д 1
Санкт-Петербург, Нижняя Д 9
Москва: +7 (499) 704-1126
Санкт-Петербург +7 (964) 333-8-112 email: 4997041126@mail.ru
Доставка курьером по всей РОССИИ
Доставка и оплата товара при получении
Отправка зап.частей в регионы РФ (Эстония, Украина, Белорусия, Казахстан и др.) от 500руб.
Удобная оплата Вашего заказа
Принимаем к оплате:Visa, Mastercard, МИР, Apple Pay
Заказать звонок
>
249 ₽
Инструкция (руководство пользователя) на Пульт управления WEBASTO Telestart T100 HTM
Артикул: webasto-telestart-t100-htm
Категория: WEBASTO
-
Описание
-
Детали
Описание
Инструкцию по эксплуатации WEBASTO Telestart T100 HTM на русском языке можно будет скачать в личном кабинете после оформления и оплаты заказа.
Детали
| Формат файла |
|
|---|---|
| Размер инструкции в кб |
1426 |


