-
Инструкции
- Духовые шкафы
Инструкции для Духовых шкафов

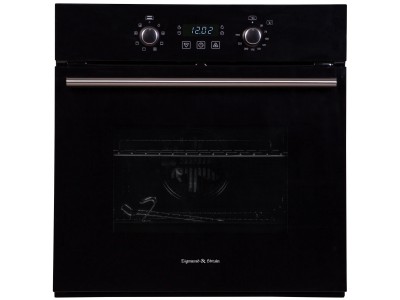
Инструкция к Electrolux EZB52430AX
PDF, 989.39 Кб
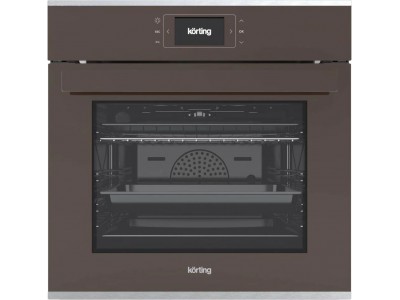
Информация о приборе
PDF, 1.1 Мб
Краткая информация о приборе
PDF, 159.38 Кб
Класс энергоэффективности
PDF, 592.31 Кб
Схема встраивания
WEBP, 40.69 Кб

Инструкция по установке
PDF, 410.31 Кб

Схема монтажа
JPG, 139.54 Кб

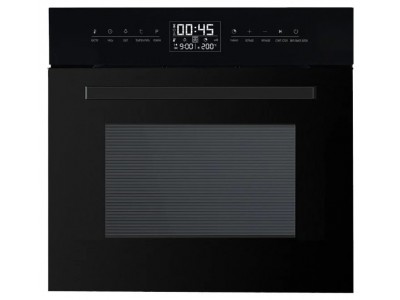
Инструкция к Neff C17MR02N0
PDF, 2.45 Мб
Схема встраивания
JPG, 73.46 Кб
Схема встраивания в колонну
JPG, 68.37 Кб

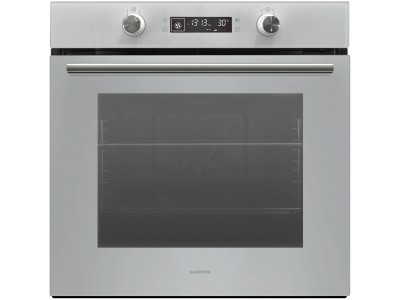
Инструкция к Bosch HBJ558YB0Q
PDF, 2.3 Мб
Схема встраивания 1
JPG, 100.94 Кб
Схема встраивания 2
JPG, 93.01 Кб
Схема встраивания 3
JPG, 41.71 Кб

Инструкция к Smeg SF800PO
PDF, 1.46 Мб

Схема встраивания
JPG, 425.83 Кб
Инструкция к Asko OCM8487B
PDF, 1.67 Мб

Инструкция к Smeg SF6381X
PDF, 1.61 Мб

Инструкция к Bosch CMG 636BS1
PDF, 3.99 Мб

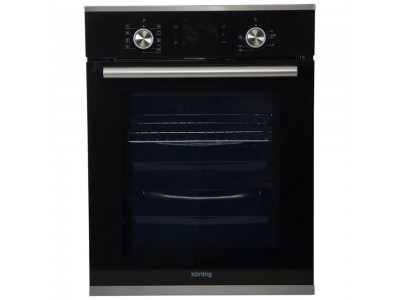
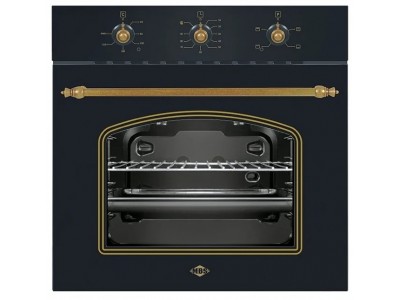
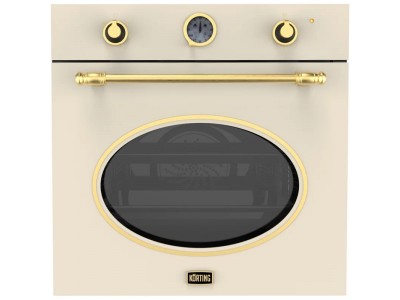
Инструкция к Korting OKB 7931 CMX
PDF, 4.52 Мб
Схема встраивания
JPG, 58.92 Кб

Схема встраивания
GIF, 40.16 Кб
Информация по прибору
PDF, 809.95 Кб
Инструкция к Smeg SF6922PPZE1
PDF, 2.43 Мб

Инструкция к Asko OCS8678G
PDF, 2.82 Мб
Инструкция по установке
PDF, 223.66 Кб

Инструкция к Bosch HBJ558YS0Q
PDF, 2.3 Мб
Схема встраивания 1
JPG, 100.94 Кб
Схема встраивания 2
JPG, 93.01 Кб
Схема встраивания 3
JPG, 41.71 Кб

Инструкция к Gorenje BCMS598S19X
PDF, 4.09 Мб
Схема встраивания с размерами
JPEG, 268.81 Кб

Инструкция к Smeg SF800P
PDF, 3.59 Мб

Инструкция к Neff B1ACE3FN0R
PDF, 2.44 Мб
Инструкция по установке
PDF, 637.2 Кб
Схема встраивания
JPG, 373.16 Кб
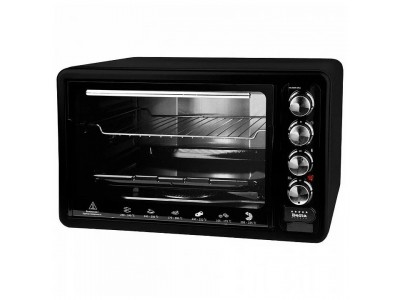
Инструкция по эксплуатации для мини-печи DELTA D-0524G
Инструкция по эксплуатации для мини-печи DELTA D-0524G. Запчасти для мини-печи DELTA D-0524G…
21.09.2023
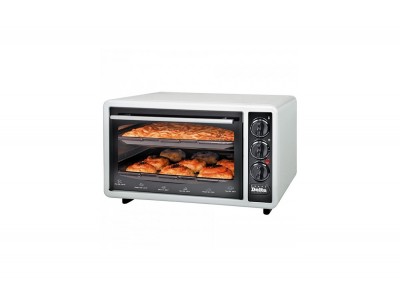
Инструкция по эксплуатации для мини-печи DELTA D-022, 023, 024
Инструкция по эксплуатации для мини-печи DELTA D-022, 023, 024. Запчасти для мини-печи DELTA D-022, 023, 024…
21.09.2023
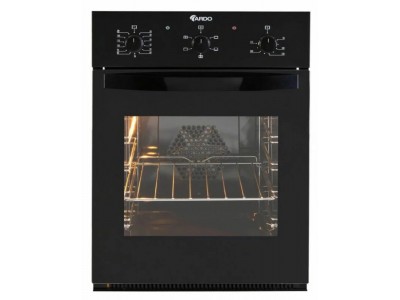
Инструкция по эксплуатации для духового шкафа Ardo F, H, N
Инструкция по эксплуатации для духового шкафа Ardo F, H, N. Запчасти для духового шкафа Ardo F, H, N…
19.09.2023
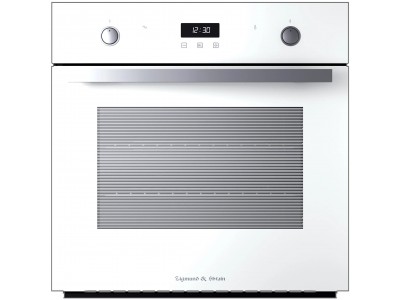
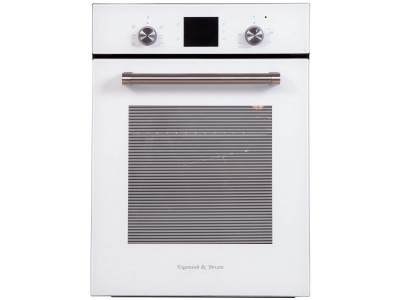
Инструкция по эксплуатации для духового шкафа Zigmund & Shtain EN 116.622
Инструкция и детали для духового шкафа Zigmund & Shtain EN 116.622…
17.09.2021
Инструкция по эксплуатации для духового шкафа Zigmund & Shtain EN 123.912
Инструкция и детали для духового шкафа Zigmund & Shtain EN 123.912…
16.09.2021
Инструкция по эксплуатации для духового шкафа Zigmund & Shtain EN 117.921
Инструкция и детали для духового шкафа Zigmund & Shtain EN 117.921…
16.09.2021
Инструкция по эксплуатации для духового шкафа Samtron AO 61025
Инструкция и детали для духового шкафа Samtron AO 61025…
15.09.2021
Инструкция по эксплуатации для духового шкафа Leran EO 4364
Инструкция и детали для духового шкафа Leran EO 4364…
14.09.2021
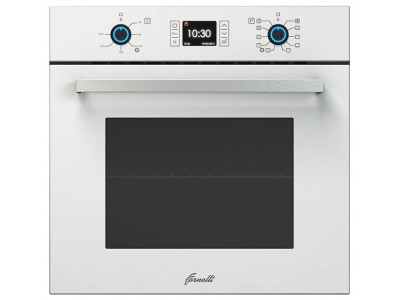
Инструкция по эксплуатации для духового шкафа Fornelli FET 60 Fiato
Инструкция и детали для духового шкафа Fornelli FET 60 Fiato…
13.09.2021
Инструкция по эксплуатации для духового шкафа Korting OKB 460, 461, 481, 4911
Инструкция и детали для духового шкафа Korting OKB 460, 461, 481, 4911…
13.09.2021
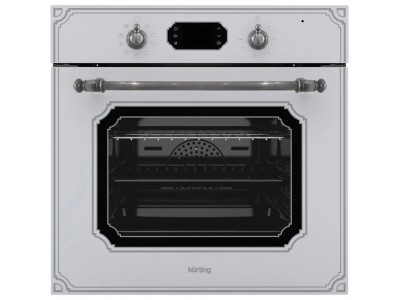
Инструкция по эксплуатации для духового шкафа Korting OKB 7951, 4630, 7931, 4941
Инструкция и детали для духового шкафа Korting OKB 7951, 4630, 7931, 4941…
10.09.2021
Инструкция по эксплуатации для духового шкафа Korting OKB 1131
Инструкция и детали для духового шкафа Korting OKB 1131…
09.09.2021
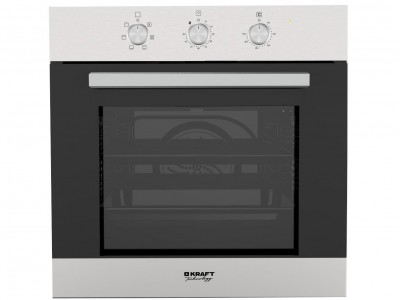
Инструкция по эксплуатации для духового шкафа KRAFT Technology TCH-OV102, 104, 107
Инструкция и детали для духового шкафа KRAFT Technology TCH-OV102, 104, 107…
01.09.2021
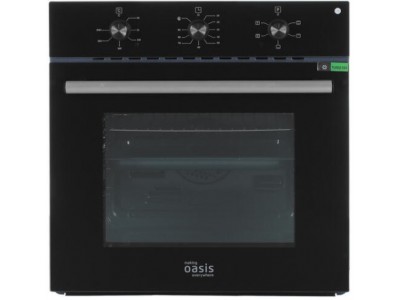
Инструкция по эксплуатации для духового шкафа Oasis D
Инструкция и детали для духового шкафа Oasis D…
01.09.2021
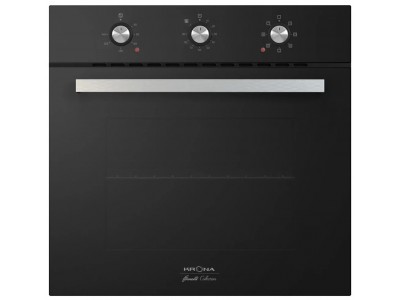
Инструкция по эксплуатации для духового шкафа Krona SORRENTO 60
Инструкция и детали для духового шкафа Krona SORRENTO 60…
31.08.2021
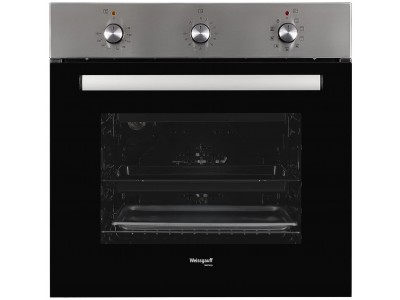
Инструкция по эксплуатации для духового шкафа Weissgauff EOV 19
Инструкция и детали для духового шкафа Weissgauff EOV 19…
31.08.2021
Инструкция по эксплуатации для духового шкафа MBS DE, DG
Инструкция и детали для духового шкафа MBS DE, DG…
26.08.2021
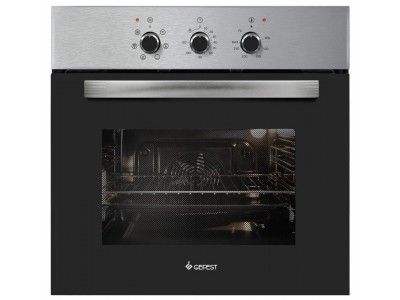
Инструкция по эксплуатации для духового шкафа GEFEST ДА 602, 622
Инструкция и детали для духового шкафа GEFEST ДА 602, 622…
25.08.2021
Инструкция по эксплуатации для духового шкафа Korting OKB 460, 461
Инструкция и детали для духового шкафа Korting OKB 460, 461..
25.08.2021
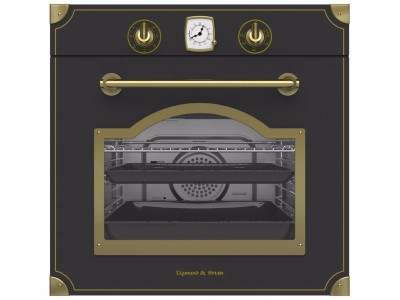
Инструкция по эксплуатации для духового шкафа Zigmund & Shtain EN 118.511 S, EN 118.511 W, EN 118.511 B, EN 115.622 S, EN 115.622 W, EN 115.622 B, EN 113.722 X, EN 113.722 A, EN 115.622 I
Инструкция и детали для духового шкафа Zigmund & Shtain EN 118.511 S, EN 118.511 W, EN 118.511 B, EN 115.622 S, EN 115.622 W, EN 115.622 B, EN 113.722 X, EN 113.722 A, EN 115.622 I…
24.08.2021
Инструкция по эксплуатации для духового шкафа Лысьва ДЭВ 501, 53
Инструкция и детали для духового шкафа Лысьва ДЭВ 501, 53…
24.08.2021
Инструкция по эксплуатации для духового шкафа Zigmund & Shtain EN 242.622
Инструкция и детали для духового шкафа Zigmund & Shtain EN 242.622…
24.08.2021
Инструкция по эксплуатации для духового шкафа ШЖЭ-1,2,3
Инструкция и детали для духового шкафа ШЖЭ-1,2,3…
21.06.2021
Инструкция по эксплуатации для духового шкафа Ariston HM, HD 87
Инструкция и детали для духового шкафа Ariston HM, HD 87…
31.05.2021
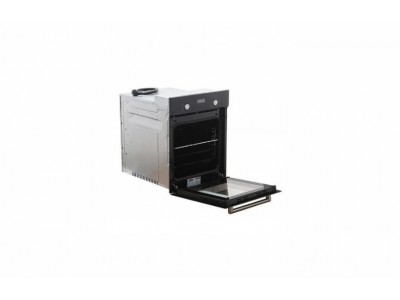
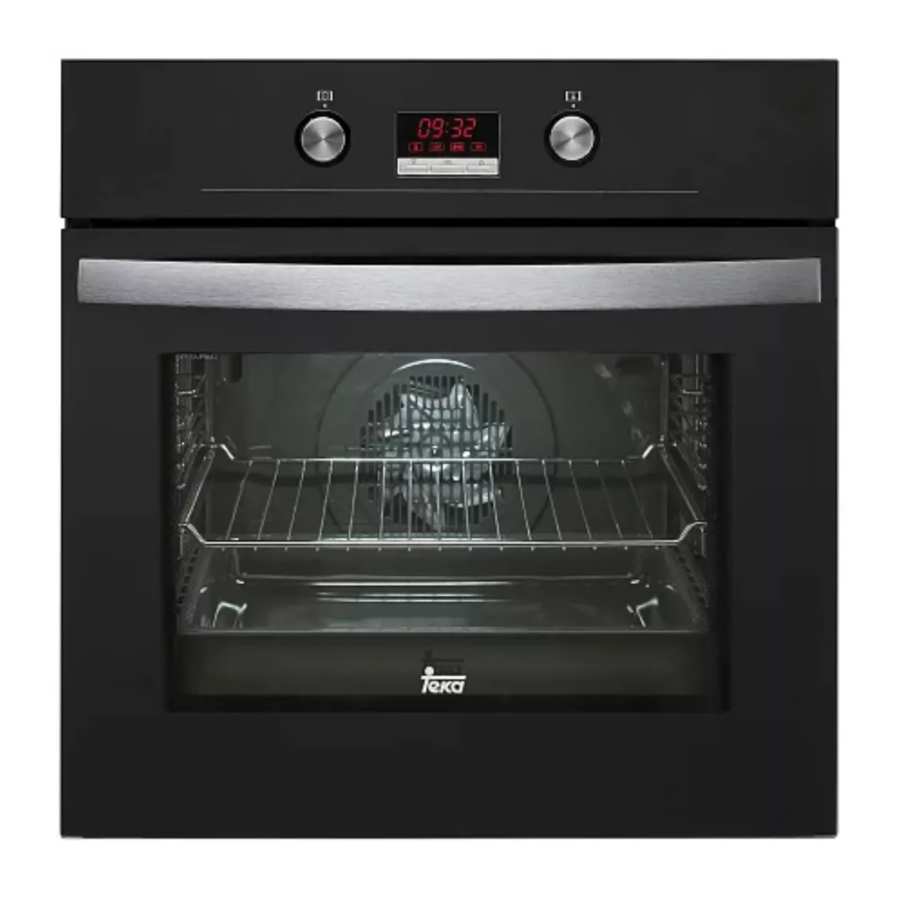
Teka HE-720, HE-735 — Oven Manual
Overview

- Control Panel
- Oven Seal
- Grill element
- Chrome Support + Telescopic Guide
- Grid
- Cake Tray
- Roasting Tray
- Hinge
- Door
- Air Outlet
- Fixing to Unit
- Grill Screen
- Smoke Outlet
- Light
- Rear Panel
- Fan
Control Panel

- Control knobs for the hob.
- Cooker indicator light. It indicates that one or more of the electric hotplates are on.
- Function selector.
- Electronic clock.
- Temperature selector.
Oven Functions

Switch off oven

Conventional
It is used for sponges and cakes where the heat received must be uniform to achieve a spongy texture.
![]()
Conventional with fan
Appropriate for roasts and cakes. The fan spreads the heat uniformly inside the oven.
![]()
Grill
For preparing dishes with superficial roasting. It allows the outer layer to be browned without affecting the inside of the food. Ideal for flat food, such as steaks, ribs, fish, toast.
![]()
MaxiGrill
Allows greater surfaces to be prepared, than with the grill, together with higher power reducing the time required for browning of the food.
![]()
MaxiGrill with fan
Allows uniform roasting at the same time as surface browning. Ideal for grills. Special for large volume pieces, such as poultry, game etc. It is recommended to put the item on a rack with a tray beneath to collect the stock and juices.
While using the Grill, MaxiGrill or MaxiGrill with fan, the door must be kept closed.
![]()
Turbo
The fan distributes the heat produced by an element located at the rear of the oven. Due to the uniform heat distribution, it allows roasting and baking to take place at two heights at the same time.
This cooking mode allows defrosting of food. To do this, set the temperature selector to ![]() position.
position.
![]()
Lower element
Heats only from beneath. Suitable for heating dishes and raising pastry and similar.
![]()
Lower element with fan
It distributes the heat from the lower part of the oven and is ideal for cakes with jam or fruit filling, which only require heating from beneath. Pre-heating is always necessary.
![]()
Grill and Lower element
Special for roasts. It can be used for any piece, whatever its size.
Note
The pilot light remains on in any cooking function.
Use of the Oven

Setting the time on the Electronic Clock
When the oven is connected to the power supply, the indication 00:00 flash on the display. Press ![]() or
or ![]() to set the time on the clock. The clock beeps twice to confirm the selected time.
to set the time on the clock. The clock beeps twice to confirm the selected time.
If you wish to modify the time, press ![]() or
or ![]() until the current time flash on the screen. Press
until the current time flash on the screen. Press ![]() .Then press
.Then press ![]() or
or ![]() to modify he time. The clock beeps twice to confirm the modification.
to modify he time. The clock beeps twice to confirm the modification.
Manual Operation
The oven is ready to be used when the clock has been set. Select a cooking function and a temperature.
When you begin cooking, symbol  lights up to indicate that the oven is heating the contents; the symbol goes out when the selected temperature is reached.
Set the controls to ![]() to turn the oven off.
to turn the oven off.
Functions of the Electronic Clock
Alarm:
Creates an alarm signal when the period of time finishes; the oven does not need to be in use in order to use this function.
Cooking Time:
To cook for a selected length of time; the oven turns itself off automatically when the time finishes.
End Cooking Time:
To cook until a set time; the oven turns itself off automatically when the time finishes.
Cooking time and End Cooking Time:
To cook for a selected length of time and end at a set time. When this function is set, the oven comes on automatically at the time required in order to cook for the set length of time (Cooking time) and end automatically at the indicated time (End Cooking Time)
Programming the Alarm
- Press
 until symbol
  lights up. Press
  .
. - Set the period of time after which you wish the alarm to sound by pressing or .
- The clock beeps twice, the current time is displayed and symbol lights up permanently to indicate that the alarm has been set.
- When the set period of time comes to an end, the alarm sounds and symbol starts to flash.
- Press any button to stop the alarm; symbol goes out.
You can consult the remaining time at any moment by pressing ![]() or
or ![]() until symbol
until symbol ![]() flashes and then pressing
flashes and then pressing ![]() . You can also modify the set time at this point by pressing
. You can also modify the set time at this point by pressing ![]() or
or ![]() . The clock beeps twice to confirm the change.
. The clock beeps twice to confirm the change.
If you wish the remaining time to be displayed until the end of the set period of time, press ![]() or
or ![]() until symbol
until symbol ![]() flashes and then press
flashes and then press ![]() and keep it pressed in. Symbol
and keep it pressed in. Symbol ![]() flashes. Keep
flashes. Keep ![]() pressed in again to return to the real time.
pressed in again to return to the real time.
Setting the Cooking Time
- Press or until symbol lights up. Press .
- Select the period of time you wish to cook for by pressing or .
- The clock beeps twice, the current time is displayed and symbol lights up permanently to indicate that the oven will turn itself off automatically.
- Select a cooking function and temperature.
- When the cooking time comes to an end, the oven turns itself off, the alarm sounds and symbol flashes.
- Press any button to stop the alarm and turn the oven back on again.
- Set the controls to
 to turn the oven off.
You can consult the remaining cooking time at any moment by pressing ![]() or
or ![]() until symbol
until symbol ![]() flashes and then pressing
flashes and then pressing ![]() . You can also modify the set time at this point by pressing
. You can also modify the set time at this point by pressing ![]() or
or ![]() . The clock beeps twice to confirm the change.
. The clock beeps twice to confirm the change.
If you wish the remaining time to be displayed until the end of the set period of time, press ![]() or
or ![]() until symbol
until symbol ![]() flashes and then press
flashes and then press ![]() and keep it pressed in. Symbol
and keep it pressed in. Symbol ![]() flashes. Keep
flashes. Keep ![]() pressed in again to return to the real time.
pressed in again to return to the real time.
Setting the End Cooking Time
- Press or until symbol lights up. Press .
- Select the time you wish the cooking process to finish at by pressing or .
- The clock beeps twice, the current time is displayed and symbol lights up permanently to indicate that the oven will turn itself off automatically.
- Select a cooking function and temperature.
- When the set time is reached, the oven turns itself off, the alarm sounds and symbol flashes.
- Press any button to stop the alarm and turn the oven back on again.
- Set the controls to to turn the oven off.
You can consult the end cooking time at any moment by pressing ![]() or
or ![]() until symbol
until symbol ![]() flashes and then pressing
flashes and then pressing ![]() . You can also modify the end cooking time at this point by pressing
. You can also modify the end cooking time at this point by pressing ![]() or
or ![]() . The clock beeps twice to confirm the change.
. The clock beeps twice to confirm the change.
This function can be used even when you are already using the oven. To do this, follow the instructions indicated above except point number 4.
Setting the Cooking Time and the End Cooking Time
- Press or until symbol lights up. Press .
- Select the period of time you wish to cook for by pressing or .
- The clock beeps twice, the current time is displayed and symbol lights up permanently.
- Press or until symbol lights up. Press .
- Select the time you wish the cooking process to finish at by pressing or .
- The clock beeps twice, the current time is displayed and symbol lights up permanently.
- Select a cooking function and temperature.
- The oven remains off with symbols and lit up. Your oven is set.
- When the time to start cooking is reached, the oven starts up and cooks for the set period of time.
- When the set end cooking time is reached, the oven turns itself off, the alarm sounds and symbols and flash.
- Press any button to stop the alarm and turn the oven back on again.
- Set the controls to to turn the oven off.
You can modify the end cooking time by pressing ![]() or
or ![]() until symbol
until symbol ![]() lights up and then pressing
lights up and then pressing ![]() . You can now modify the end cooking time by pressing
. You can now modify the end cooking time by pressing ![]() or
or ![]() . The clock beeps twice to confirm the change.
. The clock beeps twice to confirm the change.
In the event of a power cut, all the electronic clock settings are deleted and the indication 00:00 flashes on the display. It is necessary to set the time and programme the clock again.
Changing the oven light bulb
Make sure the oven is unplugged before changing the bulb.
The replacement bulb must be resistant to temperatures up to 300 ºC. You can order one from Technical Service.

Documents / Resources
Download manual
Here you can download full pdf version of manual, it may contain additional safety instructions, warranty information, FCC rules, etc.
Download Teka HE-720, HE-735 — Oven Manual