Инструкции
![]()
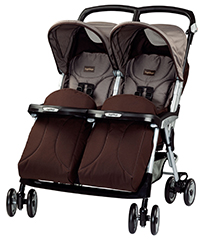
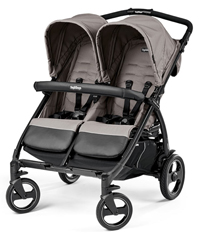
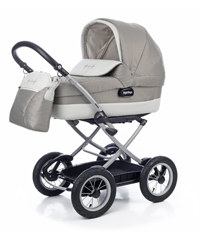
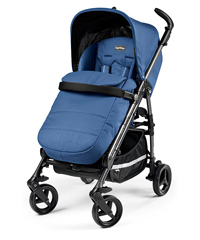
Peg Perego Aria Shopper Twin
Скачать
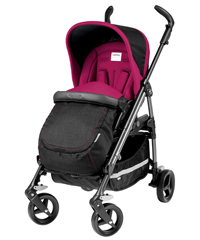
Peg Perego Book Plus / Plus S
Скачать
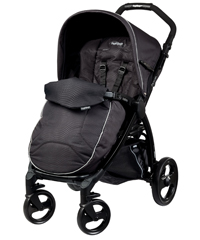
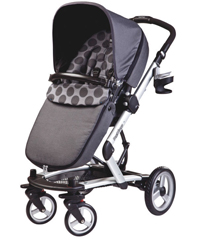
Peg Perego Booklet Classic / Lite
Скачать
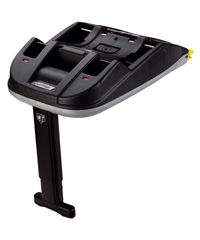

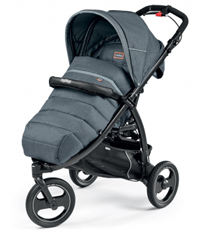
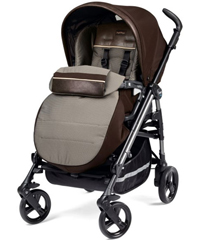
Peg Perego Pliko Switch Compact
Скачать
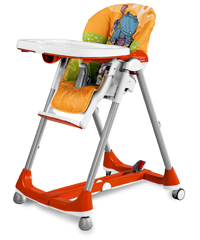
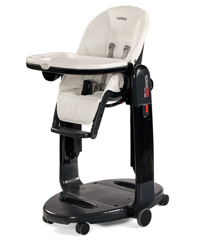
Peg Perego Prima Pappa Diner
Скачать
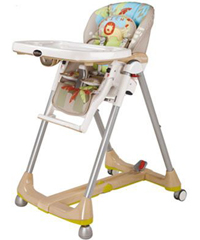
Peg Perego Prima Pappa Duplo
Скачать
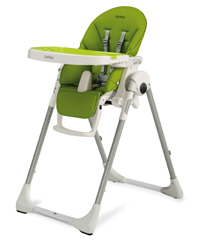
Peg Perego Prima Pappa Zero 3
Скачать
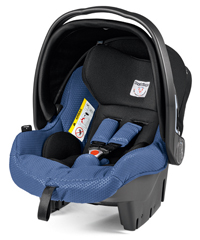
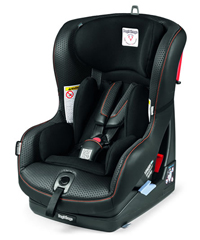
Peg Perego Primo Viaggio SL
Скачать
Peg Perego Primo Viaggio Switchable
Скачать
Peg Perego Sdraietta Melodia
Скачать
Peg Perego Sdraietta Mia Baby Seat
Скачать

Peg Perego Viaggio1 Duo Fix K
Скачать
Peg Perego Viaggio1 Duo Fix TT
Скачать

Peg Perego Viaggio 2-3 Surefix
Скачать
Peg Perego Walk n Play Jumper
Скачать
- Manuals
- Brands
- Peg-Perego Manuals
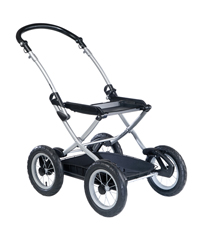
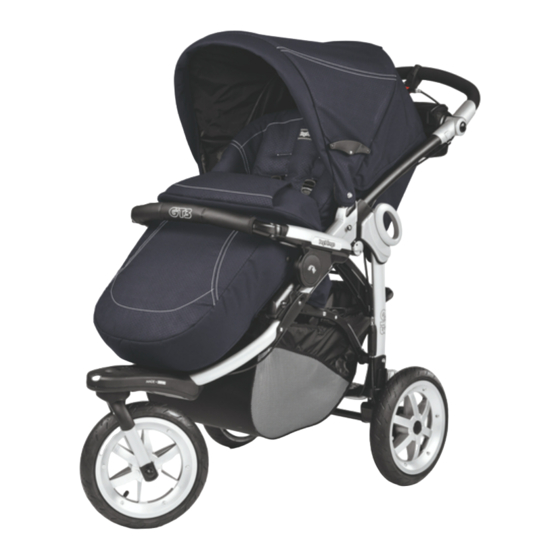
- Stroller
- GT3
- Instructions for use manual
-
Contents
-
Table of Contents
-
Bookmarks
Quick Links
CANADA
EN Instructions for use
FR Notice d’emploi
Related Manuals for Peg-Perego GT3
Summary of Contents for Peg-Perego GT3
-
Page 1
CANADA EN Instructions for use FR Notice d’emploi… -
Page 14
E N Spare parts available in different colours to be specified when ordering. F R Pièces de rechange disponibles en plusieurs couleurs à spécifier dans la demande. -
Page 15
GT3 1) ITNGT3CANL65 9) ASPI0059L31 19) ASPI0078NGR 28sx) SPST5562SN 2) ARPI0447NGR 10) ERSHG300—NY01 20) SAPI5464NGR 29dx) ASPI0058DNUS 3) SPST5664N 11) SPST5582GR 21) ARPI0401NGR 29sx) ASPI0058SNUS 4dx) SPST5665DGR 12) SPST6122N 22) ERPCGT00—QL13 30) SPST5597JGR 4sx) SPST5665SGR 13) SAPI6078KGRN 23) BCOGT3• 31) SPST6113N 24) BSAGT3• 32) ASPI0076 5) SPST5677N 14) SPST6081KN 6) SPST5676N 15) ASPI0081GRN 25) IRBELV0007 33dx) MMEV0216DPEG 7dx) SPST5553DGR 16) SAPI6118KL65NGR 26) MUCI5P22N 33sx) MMEV0216SPEG 7sx) SPST5553SGR 17) MMMV0010 27) BCAGT3• SPST5658N 18) EAMAT400—NY01 28dx) SPST5562DN…
 -
Page 16
FLAME. ITSELF. ANY POACH OR POCKET _ NOTICE: THIS ARTICLE MEETS OR PROVIDED WITH THIS UNIT IS EXCEEDS ALL REQUIREMENTS DESIGNED TO CARRY A MAXIMUM COVERED IN ASTM F833 STANDARD WEIGHT OF 0.44 POUNDS (0.2 KG). AND LATEST REVISIONS. _ THIS ITEM WAS DESIGNED FOR COMPONENTS OF THE ITEM USE IN COMBINATION WITH 1 PEG- PÉREGO GANCIOMATIC “PRIMO Check the contents of the packaging and for any complaints please contact the After-Sales VIAGGIO” CAR SEAT (GROUP 0+). Service. _ BEFORE USE CHECK THAT THE “PRIMO _ GT3 is composed of: basket; 1 swiveling or VIAGGIO” CAR SEAT (GROUP 0+) IS locking front wheel; 2 rear wheels; front bar; CORRECTLY FIXED TO THE ITEM. cover; hood; pouch; rain canopy. _ This product is numbered progressively. _ FAILURE TO FOLLOW MANUFACTURER’S SPECIFICATIONS INSTRUCTIONS FOR USE OR USE OF ACCESSORIES OTHER 1 OPENING: unfasten the safety hook before THAN THOSE APPROVED BY THE opening the stroller (fig_a). MANUFACTURER MAY CAUSE THE Grab the handle with your left hand and use UNIT TO BECOME UNSTABLE. your right hand to lift the rod all the way up _ AVOID SERIOUS INJURY FROM to the last click (fig_b). -
Page 17
brake cable, slip it into the slot as shown in 1 5 ADJUSTABLE HANDLEBAR: the handlebar on the figure. the stroller is height-adjustable. To adjust 5 MOUNTING THE REAR WHEELS: To mount the the height of the handlebar, simultaneously rear wheels, push them into the openings on press the side buttons (fig_a) and block the the sides of the stroller and click them into handlebar in the desired position (fig_b). place (arrow_a). 1 6 SAFETY STRAP: The stroller features a safety MOUNTING THE FRONT WHEELS: press the strap on the handlebar. This is to be attached button on the rear ledge (arrow_b) while to your wrist, to provide greater safety when slipping the front wheel into place (arrow_c). walking. Pull downward on the wheels to make sure 1 7 ADJUSTING THE BACKREST: the backrest they are securely fastened. of the stroller can be reclined to several 6 BASKET: Press the side buttons (fig_a) to positions. To lower the backrest, lift the remove the basket (fig_b) and fit the material. handle (arrow_a) as you recline the backrest 7 Slide the assembled basket into the housing (arrow_b), locking it at the desired position. (fig_a). Attach it to the clips at the front To raise it, push the backrest up. (fig_b) and on the sides (fig_c). 1 8 ADJUSTING THE FOOTREST: the footrest can 8 HOOD: to fit the hood, insert the side be adjusted to two positions. To lower the fasteners into the special housings (fig_a), footrest, pull the two side levers downwards… -
Page 18
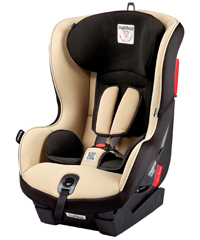
_ Position the car seat so that it is facing the end of the pump hose (fig_e). person pushing and push it down until it _ Before using the stroller for the first time, you clicks. are advised to inflate the tires to a pressure of 25 _ To remove the car seat from the stroller, P.S.I./1.7 bar. consult the instruction manual for the car 2 6 SHOCK ABSORBERS: all the wheels are seat. equipped with shock absorbers. The rear wheels have adjustable shock absorbers. (fig_b) GT3 + NAVETTA XL You can choose from “HARD” for soft terrain, To attach the Navetta XL bassinet unit to the such as sand and lawns, “SOFT” for rough stroller or chassis: surfaces, such as gravel and cobble stones, _ Apply the brakes on the stroller. and “MEDIUM” for smooth, firm surfaces. To _ Raise the Ganciomatic connectors. adjust the shocks on the rear wheels, turn the _ Raise the leg rest on the stroller or chassis to knob to choose one of the three settings. It is the highest position. recommended to adjust both rear wheels to _ Remove the front bar. the same setting. -
Page 19
FR_Français SERIAL NUMBERS 3 7 Information relating to the date of manufacture of the product are found under Merci d’avoir choisi un produit Peg-Pérego. the GT3 footrest. _ Product name, date of manufacture and serial AVERTISSEMENT number. This information is required for any _ IMPORTANT: LIRE CES complaints. INSTRUCTIONS AVEC ATTENTION ET LES CONSERVER POUR TOUTE CLEANING AND MAINTENANCE RÉFÉRENCE FUTURE. LA SÉCURITÉ PRODUCT MAINTENANCE: protect from the DE VOTRE ENFANT POURRAIT ÊTRE weather: water, rain, or snow; prolonged MENACÉE SI CES INSTRUCTIONS NE and continuous exposure to bright sunlight SONT PAS RESPECTÉES. may give rise to colour changes of various different materials; store this product in a dry _ CE PRODUIT A ETE CONÇU POUR UN place. ENFANT DONT LE POIDS N’EXCEDE CLEANING THE CHASSIS: periodically clean all PAS 20 KG (45 LIVRES) ET LA TAILLE NE plastic parts with a damp cloth. Do not use DEPASSE PAS 110 CM (43 POUCES). solvent or similar cleaning products; keep all metal parts dry to prevent rusting; keep LE PANIER A ETE CONÇU POUR moving parts clean (adjustment mechanisms, SUPPORTER DES CHARGES MAXIMALES locking mechanisms, wheels, …) and free of DE 5 KG (11 LIVRES). LE PORTE-… -
Page 20
CONDITIONS REQUISES PAR LA NORME retirez la fixation de la capote de son ASTM F833 ET RÉVISIONS RÉCENTES logement (procédez des deux côtés). OU SATISFAIT À DES CONDITIONS PLUS 1 0 TABLIER : fixez le tablier au repose-pieds à l’aide de la fermeture éclair (fig_a), fixez-le latéralement SÉVÈRES. avec le velcro (fig_b) et avec le bouton (fig_c). 1 1 CEINTURE DE SÉCURITÉ À 5 POINTS : pour COMPOSANTS DE L’ARTICLE l’accrocher, enclencher les deux boucles Vérifier le contenu de l’emballage et en cas de de la ceinture ventrale (bretelles attachées, réclamation, contacter le Service Assistance. flèche_a) dans la sangle d’entrejambes _ GT3 est composé de : panier ; 1 roue avant jusqu’au déclic (flèche_b). Pour la décrocher, pivotante ou que l’on peut bloquer; 2 roues appuyer sur le bouton rond situé au centre arrière; main courante; tablier; capote; sac de la boucle (flèche_c) et tirer la ceinture banane; habillage pluie. ventrale vers l’extérieur (flèche_d). _ Cet article est numéroté progressivement. 1 2 Pour serrer la sangle ventrale, tirez, des deux côtés, dans le sens de la flèche (flèche_a), INSTRUCTIONS POUR pour la desserrer procédez dans le sens inverse. La sangle ventrale peut être serrée L’UTILISATION jusqu’à la butée de sécurité (fig_b). 1 OUVERTURE : avant d’ouvrir la poussette, 1 3 Pour régler la hauteur des ceintures de… -
Page 21
Primo Viaggio (vendus séparément) à la de nouveau, appuyez sur le bouton long et poussette. poussez-la dans l’accoudoir. 2 0 PORTE-BOISSONS LATÉRAUX : la poussette 2 8 FIXATIONS GANCIOMATIC DE LA POUSSETTE est équipée de deux porte-boissons latéraux : Pour relever les fixations Ganciomatic de escamotables et extractibles. Pour extraire le la poussette, soulever la housse au niveau porte-boissons, tournez vers le haut la partie des angles du siège. Relever les deux supérieure (flèche_a) et abaissez la partie fixations Ganciomatic, qui se déplaceront inférieure (flèche_b). Tournez vers l’extérieur automatiquement vers l’extérieur. le disque (flèche_c) et placez la boisson _ Pour abaisser les fixations, procéder à (fig_d). Pour fermer le porte-boissons, agissez l’opération inverse. Navetta XL et Primo dans le sens inverse. Viaggio peuvent être accrochés à GT3 en 2 1 HABILLAGE PLUIE : placez-le sur la poussette version poussette avec dossier appliqué, et boutonnez-le latéralement à la capote en version GT3 Naked ou encore en version (fig_a), boutonnez les deux extrémités de châssis. l’élastique de l’habillage pluie à la base des montants avant (fig_b). — 21 -… -
Page 22
Pour transformer GT3 en version GT3 fixez-le (fig_d). Naked version châssis, il faut : 3 3 DÉFAIRE LA HOUSSE DU SIÈGE : déboutonnez 2 9 Mettre le dossier sur la deuxième position la housse du siège (fig_a) et retirez la housse et défaire les deux crêtes latérales qui le par le repose-pied (fig_b). Décrochez les soutiennent (fig_a), appuyer sur les deux fixations de la housse des accoudoirs (fig_c). boutons à la base du dossier (fig_b) tout en le 3 4 Retirez vers le haut la sangle d’entrejambes soulevant (fig_c). Avant d’accrocher Navetta en passant sous le siège (fig_a), déboutonnez XL ou Primo Viaggio, soulever la partie arrière la housse des ailettes latérales du dossier de la base Ganciomatic (fig_d). (fig_b) et retirez les ailettes en passant à _ Pour transformer à nouveau le châssis en l’arrière du dossier (fig_c). Enfin, enlevez la poussette, procéder aux opérations décrites housse. précédemment mais en sens inverse. LIGNE ACCESSOIRES 3 0 (fig_a) GT3 + PRIMO VIAGGIO 3 5 BORSA: sac avec un petit matelas pour langer Pour accrocher le siège-auto à la poussette bébé, se fixe à la poussette. ou au châssis, il faut : 3 6 MOUSTIQUAIRE applicable à la capote. _ immobiliser la poussette ; _ relever les fixations Ganciomatic de la NUMÉROS DE SÉRIE… -
Page 23
PEG-PÉREGO S.p.A. Peg-Pérego se réserve le droit de procéder à tout moment à des modifications sur les modèles décrits dans cet ouvrage, pour des raisons de nature technique ou commerciale. SERVICE D’ASSISTANCE PEG-PÉREGO En cas de perte de pièces ou de rupture de l’une d’elles, utiliser exclusivement des pièces de rechange originales Peg-Pérego. Pour toute réparation, remplacement, informations sur les produits, vente de pièces détachées d’origine et accessoires, contactez le service après-vente Peg Pérego en indiquant, si présent, le numéro de série du produit. CANADA tél. 905.839.3371 fax 905.839.9542 call us toll free 1.800.661.5050 site Internet www.pegperego.com — 23 -… -
Page 24
PEG PEREGO S.p.A. VIA DE GASPERI 50 20862 ARCORE MB ITALIA tel. 0039 039 60881 fax 0039 039 615869/616454 Servizio Post Vendita — After Sale: tel. 0039 039 6088213 fax: 0039 039 3309992 Conforms to ASTM F833 Safety Standards PEG PEREGO U.S.A. Inc. 3625 INDEPENDENCE DRIVE FORT WAYNE INDIANA 46808 phone 260 482 8191 fax 260 484 2940 Call us toll free: 1 800 671 1701 PEG PEREGO CANADA Inc.
 SPST5658N 18) EAMAT400—NY01 28dx) SPST5562DN…
 Инструкции по эксплуатации
Укажите здесь торговую марку и тип
В настоящее время вы находитесь на странице с руководствами Peg Perego коляска. Выберите один из продуктов, чтобы сразу перейти к руководству по этому продукту. Не можете найти Peg Perego ? Тогда попробуйте вбить в поле поиска Peg Perego и модель, чтобы найти нужное руководство Peg Perego. На ManualsPDF.ru в настоящее время имеется 57 руководств Peg Perego . Самые популярные Peg Perego коляска:
- Peg Perego Book Plus
- Peg Perego Pliko P3 Compact
- Peg Perego Book
Последнее добавленное руководство Peg Perego было добавлено 2023-09-16, и это Peg Perego Veloce TC.
Скачать
FI000701I71
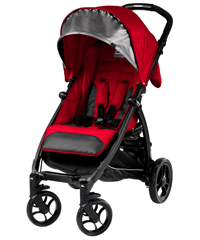
GT3
Istruzioni
dʼuso IT
Instructions for use EN
Notice
dʼemploi FR
Gebrauchsanleitung
DE
Instrucciones de uso ES
Instruções para uso PT
Gebruiksaanwijzing
NL
Brugsanvisning
DK
Käyttöohjeet
FI
Návod na použití CZ
Návod na použitie SK
Használati
útmutató
HU
Navodila za uporab SL
Инструкции по пользованию RU
Kullanim
klavuzu
TR
ΟΔΗΓΙΕΣ ΧΡΗΣΕΩΣ EL