-
Contents
-
Table of Contents
-
Troubleshooting
-
Bookmarks
Quick Links
H-CDM8035
CD/MP3-RECEIVER
CD/MP3-
Instruction manual
Related Manuals for Hyundai H-CDM8035
Summary of Contents for Hyundai H-CDM8035
-
Page 1
H-CDM8035 CD/MP3-RECEIVER CD/MP3- Instruction manual… -
Page 2: Table Of Contents
Dear customer! Thank you for purchasing our product. For safety, it is strongly recommended to read this manual carefully before connecting, operating and/or adjusting the product and keep the manual for reference in the future. Table of contents TABLE OF CONTENTS … 2 IMPORTANT SAFEGUARDS …
-
Page 3: Important Safeguards
Important safeguards · Read carefully through this manual to familiarize yourself with this high-quality sound system. · Disconnect the vehicle’s negative battery terminal while mounting and connecting the unit. · When replacing the fuse, be sure to use one with an identical amperage rating. Using a fuse with a higher amperage rating may cause serious damage to the unit.
-
Page 4: Installation/ Connections
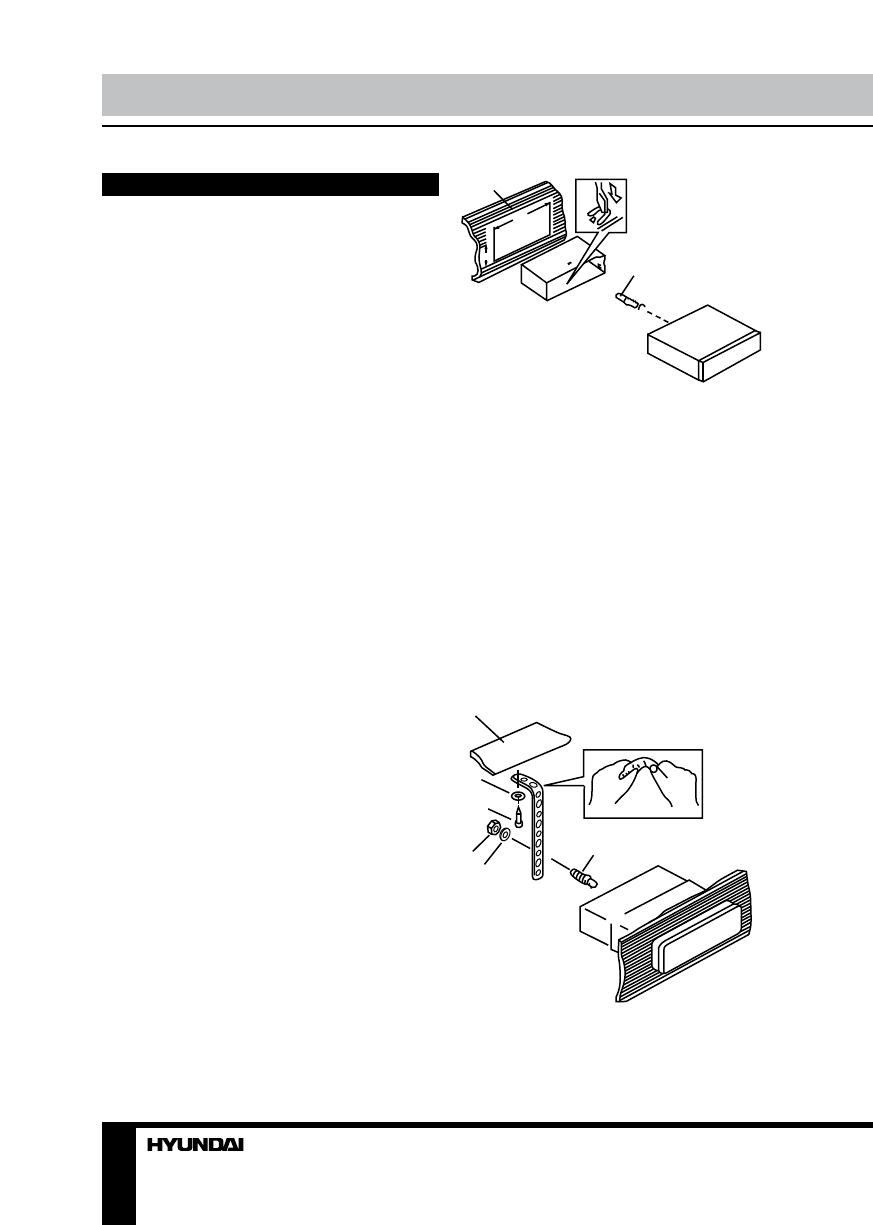
Installation/ Connections First complete the electrical connections, and then check them for correctness. Installation way It is an anti-theft installation way. The chassis wear a metal sliding housing. Please have the wiring connection of the power supply, speakers and antenna as for the requirement of the manual, and then install the metal sliding housing into the car according to the diagram.
-
Page 5
Din rear-mount (method 2) Installation using the screw holes at both sides of the unit. 1. Select a position where the screw holes of the main unit are fitted for aligned, and tighten the screws at 2 positions at each side. Use either truss screws (5 x 8mm) or flush surface screws (4 x 8mm), depending on the shape of the screw holes in the bracket. -
Page 6: Connection Scheme
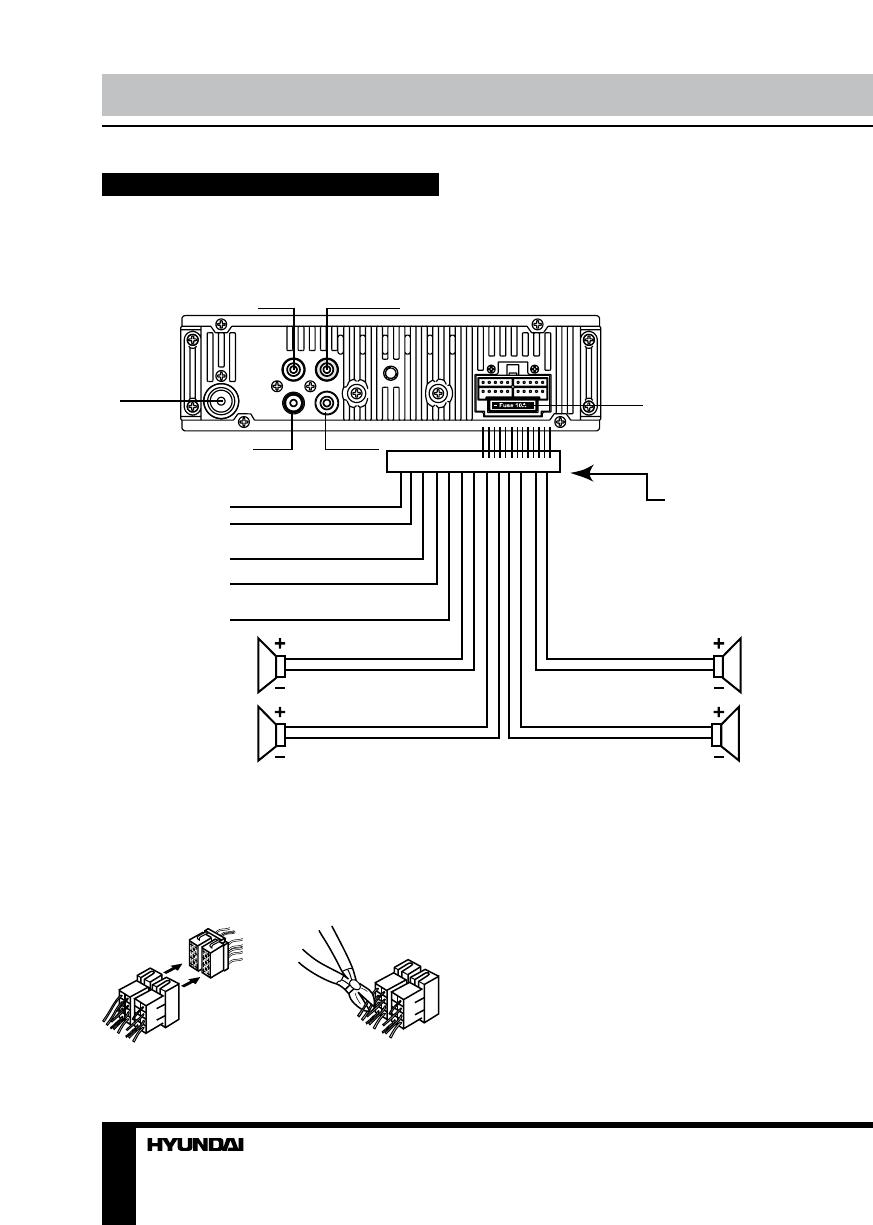
Connection scheme Notes: · In spite of having any kinds of speaker system, must use 4 ohms impedance of speaker to reduce the distortion during high volume level. · Prohibit to make the conductors of auto antenna and ground touch with each other.
-
Page 7: Panel Controls
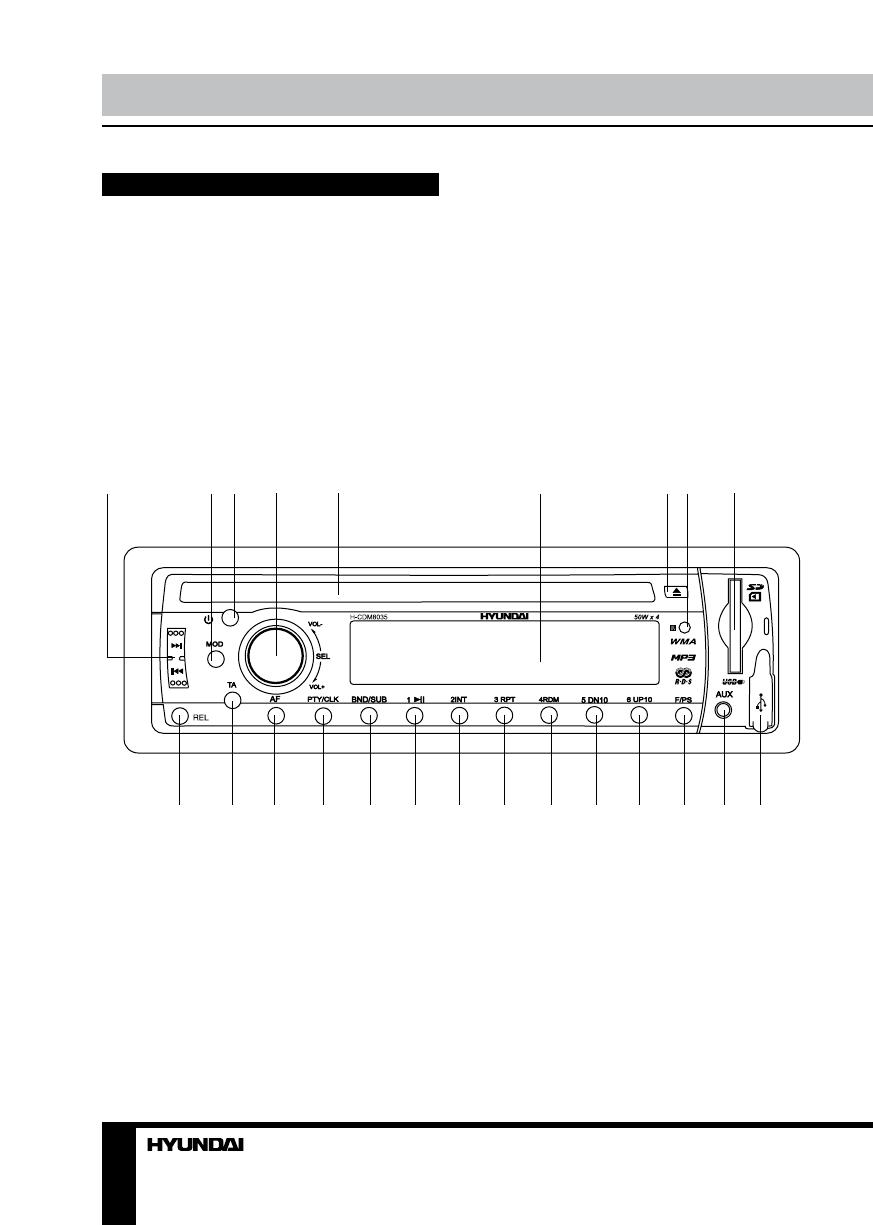
Panel controls Front panel 1. OPEN BUTTON Press it to remove the front panel. 2. TA BUTTON Press it to active the TA function. 3. SCAN BUTTON 4. PTY / CLK BUTTON Press it to active the PTY function. Press and hold it to set the time.
-
Page 8: Inner Panel
15. F / PS BUTTON 16. USB socket 17. SD socket 18. MUTE BUTTON Press it to switch the sound off. 19. VOL KNOB / SEL BUTTON Rotate it clockwise to increase the volume level; rotate anticlockwise to decrease the volume level. 20.
-
Page 9: Functions Of Controls
Functions of controls General operations Power button Press any button to switch the unit on. The display will show a message WELCOME . Press and hold the POWER button to switch the unit off. The display will show a message GOOD-BYE . Note: After the unit is off, volume level and radio current settings will be memorized, and when you turn the unit on it will resume the stored status you set.
-
Page 10: Radio Operations
Beep Sound Off function Press the VOLUME knob / SEL until Beep On is displayed. Turn the Volume knob to switch between Beep ON and OFF. Equalizer setting Press the Volume button, until EQ indication is displayed then rotate the Volume knob to choose between the EQ sound effects: CLASS =>…
-
Page 11: Rds Function
· Select a band (if needed). · Select a station by 3/4 buttons. · Press and hold a numbered button (1-6) which you want store the station for at least 2 seconds. · To recall a station: · Select a band (if needed). ·…
-
Page 12
PTY function Press the PTY / CLK button once to show the music type. Then press 1-6 button to choose the different music types available. Press the PTY / SLK button twice to show the speech type program. Then press 1-6 button to choose the different speech type program. -
Page 13
CD/ / MP3/ WMA/ USB/ SD card operations Discs for playback This unit can play disc types: CD/CD-R/-RW. Compatible with formats: MP3/WMA. USB/ SD/ MMC notes USB functions (flash memory type) MP3 music play. SD/ MMC card support, 2in1 (SD/ MMC) support. USB flash memory. -
Page 14
Inserting the USB/ SD device Remove the cover from the USB port, then insert the USB device into the USB slot on the front panel. Then the playing mode will be changed into USB mode automatically. Or press the MODE button to select USB. The first USB device track playback will start. Pausing playback To ensure good system performance, wait until the unit finishes reading the disc information before proceeding. -
Page 15
Search function (for MP3/ WMA modes) The search modes only works with MP3/ WMA CDs and USB flash memory with MP3/ WMA files. Cancel Random, Repeat and Intro features before searching. Track search: · Press the F/ PS button, then use the volume button to select the track number. ·… -
Page 16
RCA line out This output is for connecting amplifier, equalizer or other audio component that requires a pre-amp out connection (Red = Right, White = Left). Subwoofer output Press and hold the BND / SUB button to turn on/ off the subwoofer function. -
Page 17: Mp3 Overview
MP3 overview Notes on MP3 · MP3 is short for MPEG Audio Layer 3 and refers to an audio compression technology standard. · This product allows playback of MP3 files on CD-ROM, CD-R or CD-RW discs. · The unit can read MP3 files written in the format compliant with ISO 9660. However it does not support the MP3 data written by the method of packet write.
-
Page 18: Anti-Theft System
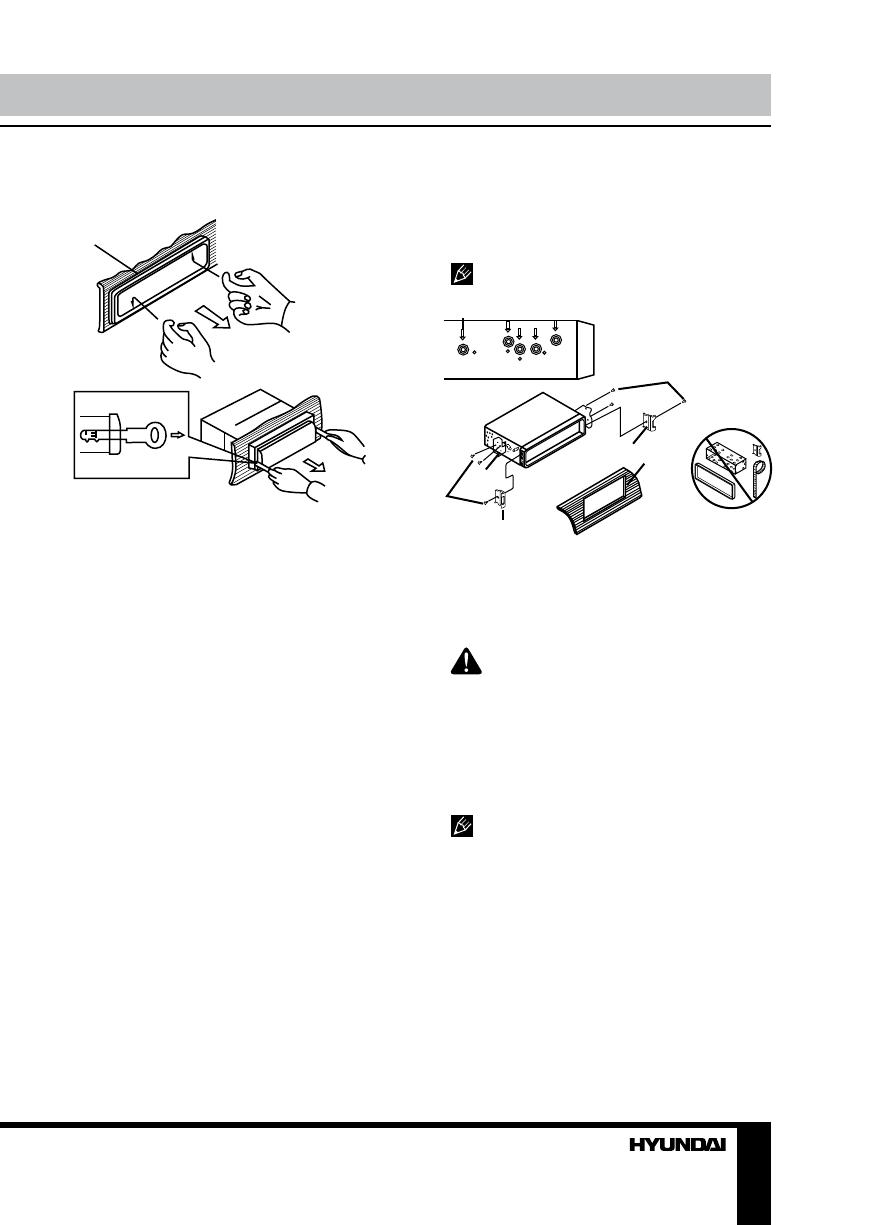
Anti-theft system This unit is equipped with a slide-down detachable and mask panel. Panel can be detached and taken with you, helping to deter theft. Detaching the front panel Press the PWR button to turn the power off. Press the OPEN button on the front panel. Push the panel to the right and then pull it towards you.
-
Page 19: Handling Compact Discs
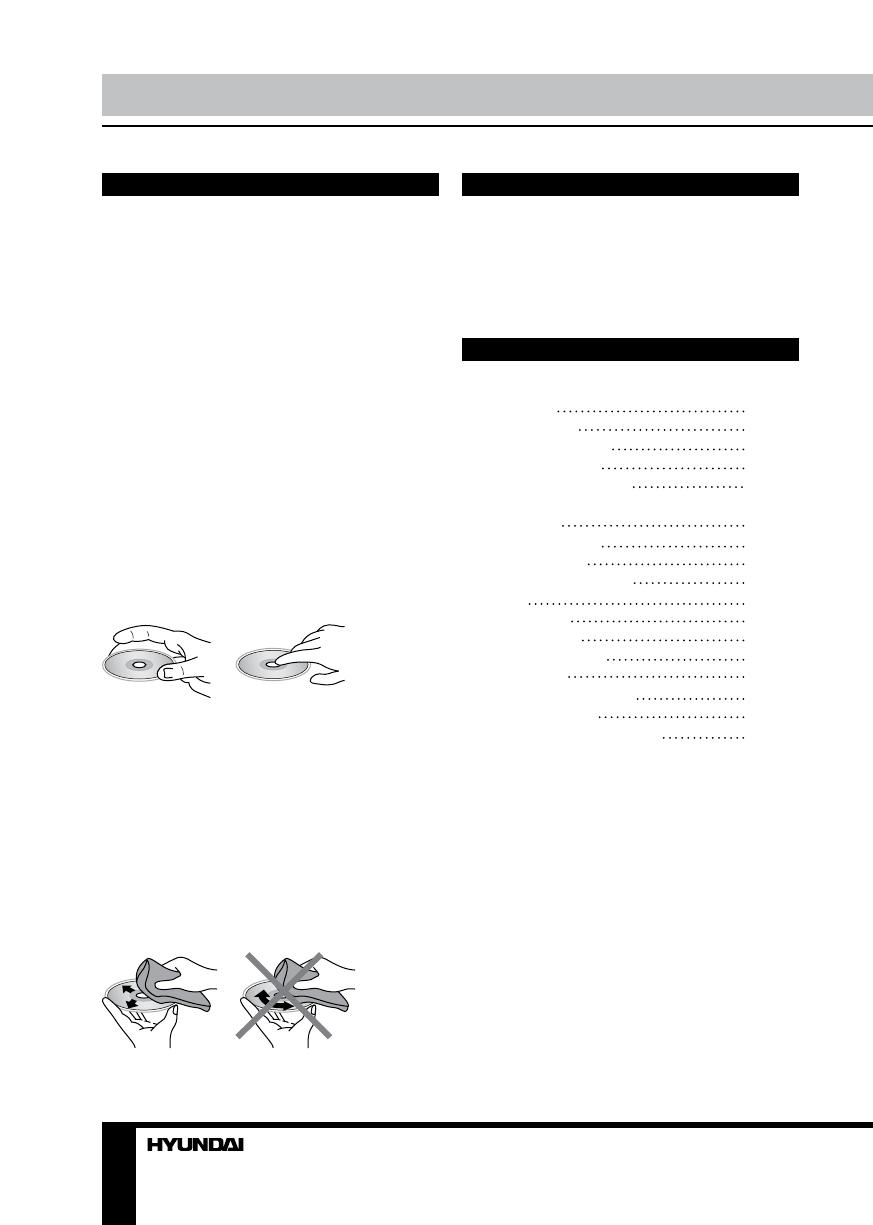
Handling compact discs Dirty, scratched or warped discs may cause skip ping or noise. Handle the disc only by the edges. To keep clean do not touch its surface. Discs should be stored in their cases after use to avoid scratches. Do not expose discs to direct sunlight, high humidity, high temperature or dust.
-
Page 20: Troubleshooting Guide
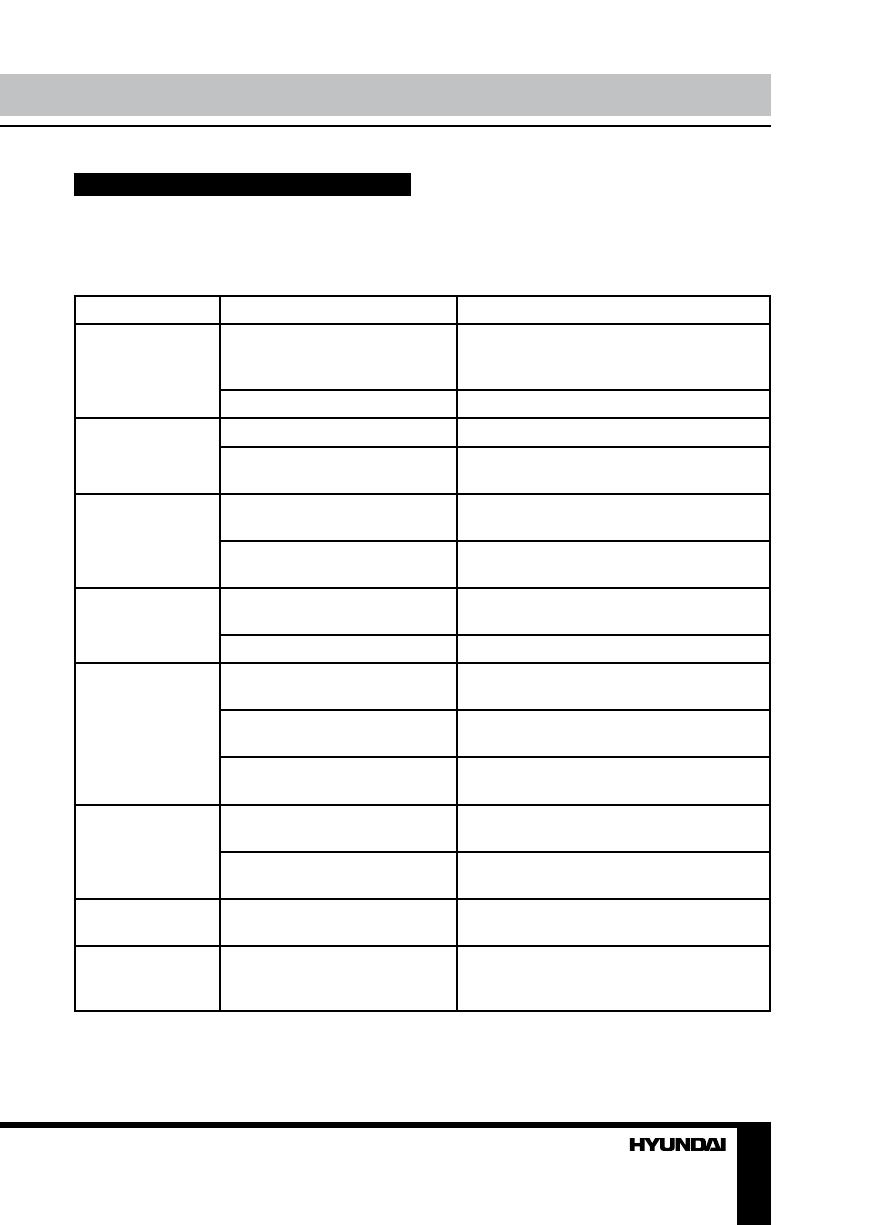
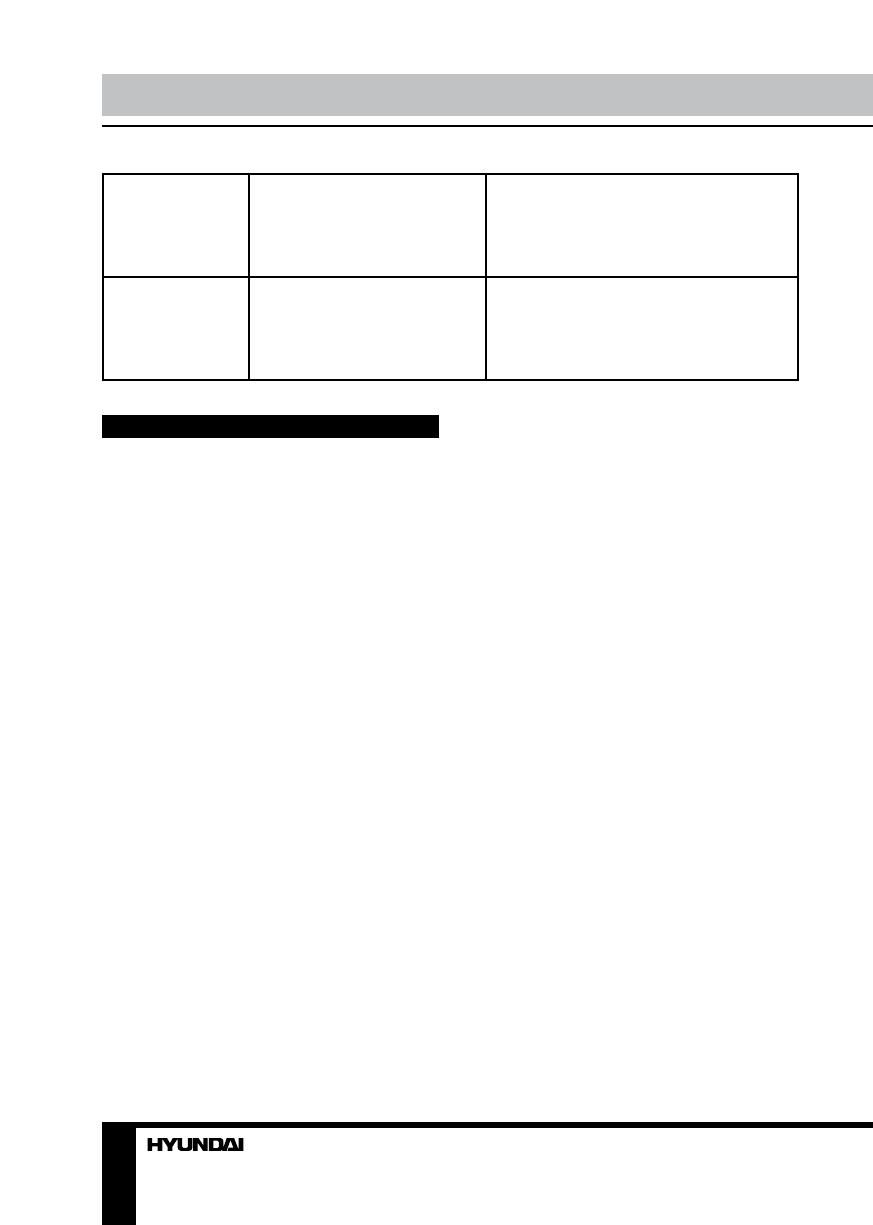
Troubleshooting guide Symptom General No power Disc Disc cannot be loaded. Disc cannot be read. No sound The operation keys do not work. Sound skips. The radio does not work, the radio station automatic selection does not work. Cause The car ignition is not on. The fuse is blown.
-
Page 21: Specification
Specification General Power supply Current consumption Maximum power output Fuse Dimensions (L x W x H) FM stereo radio Frequency range Usable sensitivity I.F. Frequency MW Section Frequency range Usable sensitivity I.F. Frequency: Disc player System: Usable disc: Frequency characteristics: Signal to noise CD: Number of channels: Line out…
-
Page 22
… 22 … 23 … 24 … 27 … 29 3 … 39 … 41 … 42 … 43 … 45 … 43 … 44… -
Page 23
· · · · · · · · · · · ·… -
Page 26
· ·… -
Page 27
OPEN EJECT SCAN ( PTY / CLK PLAY/PAUSE ( INT ( RPT ( RDM ( PTY. (1-6) -
Page 28
DN 10 ( UP 10 ( BAND / SUB BAND ( POWER 14. AUX F / PS MUTE MUTE, SEL, EJECT : VOL => BAS => TRE => BAL => FAD. / TRK… -
Page 29
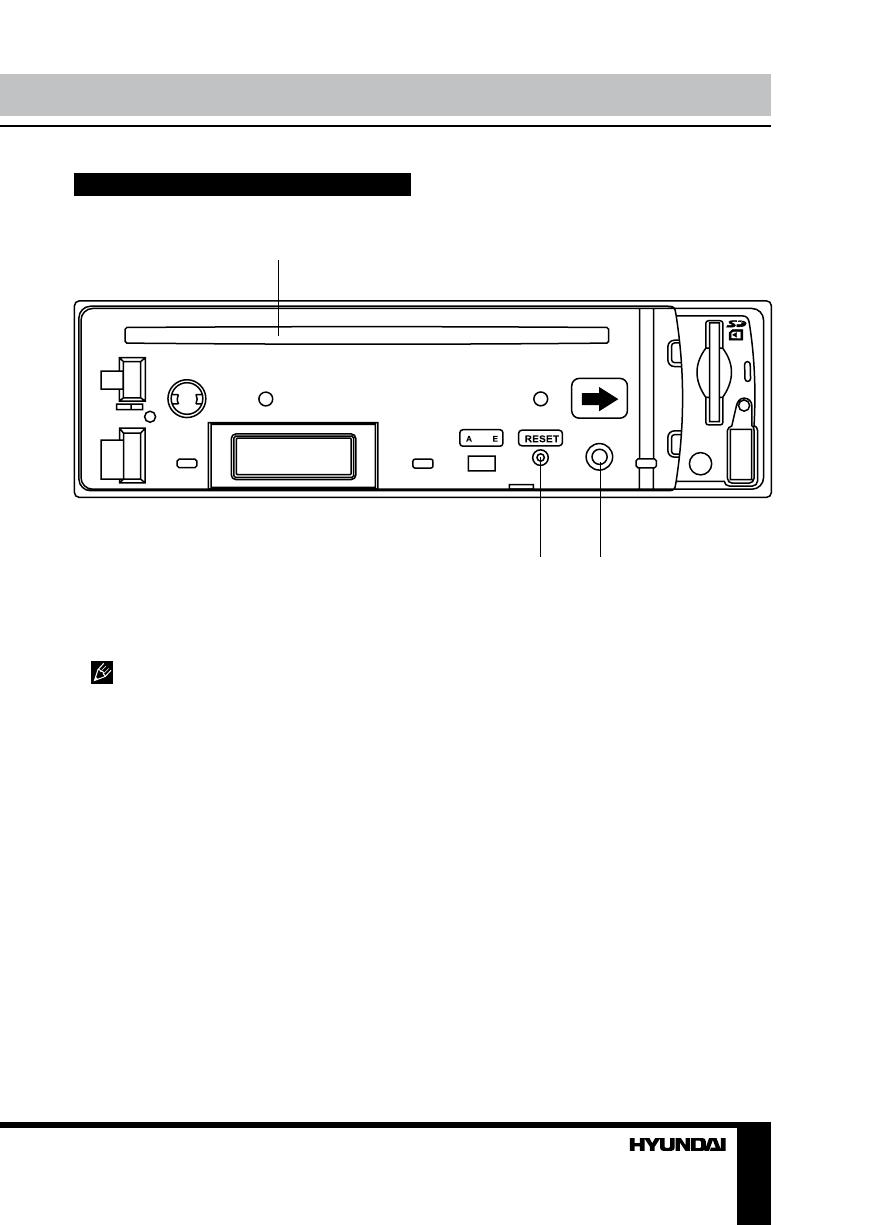
OPEN, 1. LED RESET… -
Page 30
POWER, SEL ( => BAL R-L ( · BASS/TREBLE: -7, -6, -5,…, 0, +1, +2,…+5, +6, +7 · BALANCE: 7L, 11L,…, L=R, 1R,…,7R , L — · FADER: 7R, 11R,…, R=F, 1F,…, 7F BASS TREBLE : AUX => RADIO => DISK => USB => CARD ( USB, CARD, DISK ) =>… -
Page 31
Volume/ SEL «LOUD OFF». OFF. MUTE, VOL+/ -, BAND/ SUB, Volume Beep On . Volume : CLASS => POP => ROCK => FLAT. PTY / CLK PTY / CLK CLK,… -
Page 32
B ND / SUB, ( FM VOLUME / SEL · F/ PS · · · · · · · Preset (1-6), TUNE, « F / PS (18 FM, 12 AM) 3/4. (1-6) : FM1, FM2, FM3, AM1, «ST ON» «ST OFF» ( »,… -
Page 33
AF ( TA ( SEEK. TA SEEK TA ALARM PTY / CLK, TA SEEK TA ALARM, «TA/TP» SEL, «AF» , RDS 1-6, 1-6,… -
Page 34
Mask DPI- Mask all · · SEL, · · MASK DPI, MASK ALL, Retune S/L · · SEL, · VOL+/- · «RETUNE_S». «Mask DPI». Short/ Long «RETUNE_S» «RETUNE_L». MASK DPI MASK ALL. (AF), RDS. «RETUNE_S». «TA SEEK». -
Page 35
: MP3/WMA. USB/ SD/ MMC SD/ MMC, 2 1 (SD/MMC). FAT 12/ FAT 16/ FAT 32 · FAT 12/ 16 ( · FAT 32 ( · : 32 · (id3tag ver 2.0) USB 2.0. USB: USB 2.0. : 8 M ~ 1 MMC: / SD , 500… -
Page 36
· · EJECT, Multi-session CD USB/ SD No 1 / PLAY / PAUSE, MP3/ WMA ID3, USB. TUNING / TRK, TUNING / TRK «LOAD» MODE, USB. -
Page 37
UP 10/ DN 10 ( MP3, WMA No 6 / UP 10, No 5 / DN 10, «RPT». RPT-1, RPT-DIR ( «RDM»/ «RDM ON» ( Intro «INT». ID3 Tag ( MP3/ WMA Search ( MP3/ WMA Search · F / PS, ·… -
Page 38
· F / PS · · SEL, · F/ PS · · SEL, USB: MP3/ WMA AUX IN · AUX IN · MODE, · · BND / SUB, «F». «D». AUX. AUX IN… -
Page 39
· · · · · · · 256. · · · MPEG 3 VBR, CD-ROM, CD-R CD-RW. ISO 9660. .mp3 . .mp3 , . VBR:… -
Page 40
· · · CD-R MP3 CD-R CD-RW · · CD-R CD-RW CD-RW · · CD-R CD-RW, ISO 9660, 1. ID3TAG. 44,1 CD-R… -
Page 41
PWR, OPEN . 1). -
Page 42
· · · · · · · · · ·… -
Page 44
« ». RESET. -
Page 45
12 , . 10 178 50 150 87.5 — 108.0 10.7 522-1620 MP3/ CD-R/ CD-RW 20-100 10-20 . 2000…

CD/MP3/WMA-РЕСИВЕРCD/MP3/WMA RECEIVER
Руководство по эксплуатации Instruction manual
H-CDM8035
Table of contents Before you start
Dear customer!
Thank you for purchasing our product. For safety, it is strongly recommended to read
this manual carefully before connecting, operating and/or adjusting the product and keep
the manual for reference in the future.
Table of contents
Before you start
Installation/Connection
Operation
General information

Table of contents Before you start
If you want to dispose this product, do not mix it with general household waste. There is
a separate collection system for used electronic products in accordance with legislation
that requires proper treatment, recovery and recycling.
Please contact your local authorities for the correct method of disposal. By doing so, you
will ensure that your disposed product undergoes the necessary treatment, recovery and
recycling and thus prevent potential negative effects on the environment and human health.
Utilization of the product
Important safeguards
Installation/Connection
Installation
General notes
Din Front/Rear-Mount
1. DIN front-mount (Method A)
Dismantling the unit
Installation/Connections
Trim frame installation
2. DIN rear-mount (Method B)
Detachable control panel
Anti-theft system
Installation/Connection
Connection
Connection diagram
Using the ISO Connector
Installation/Connections
Location
Function
Operation Operation
Control elements
Front panel
Operation Operation
Back of the front panel

Operation
LCD layout
Operation
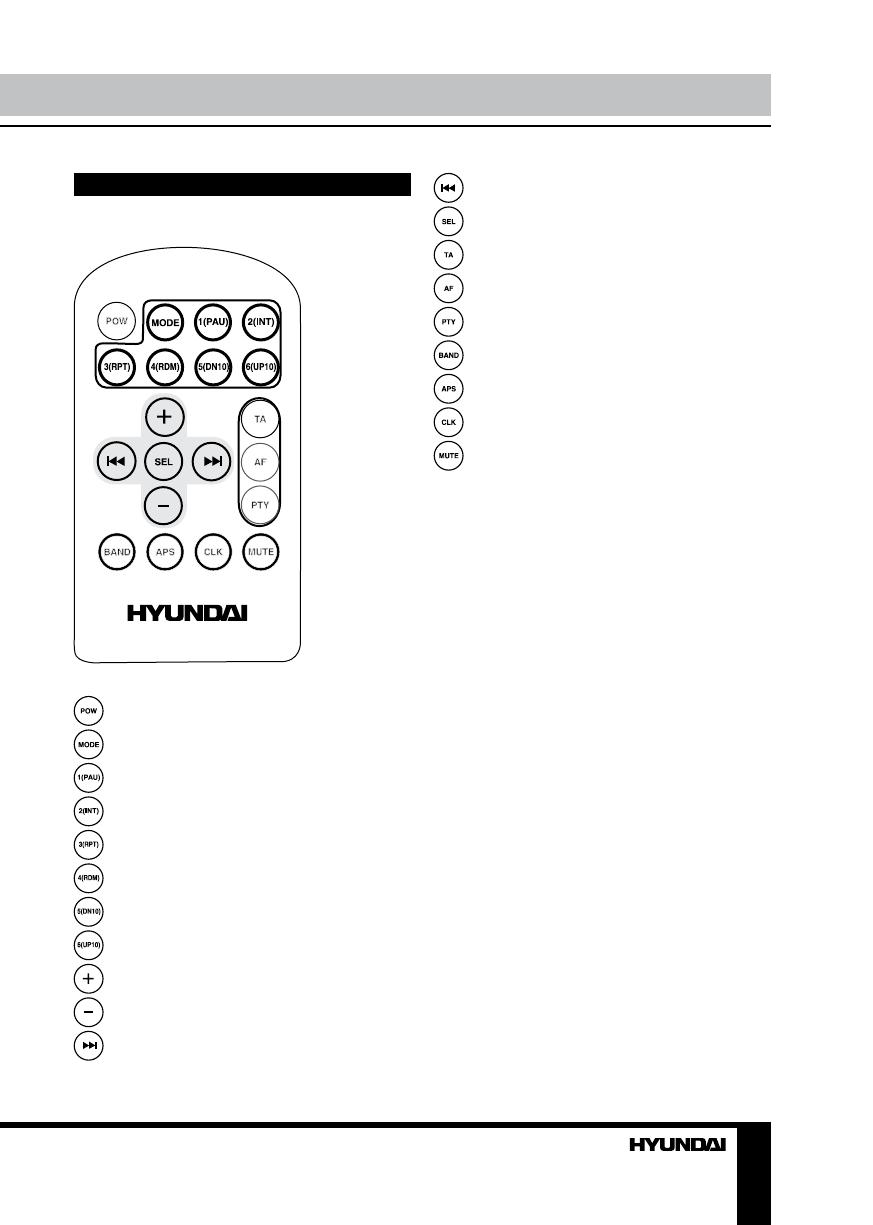
Remote controller
Operation Operation
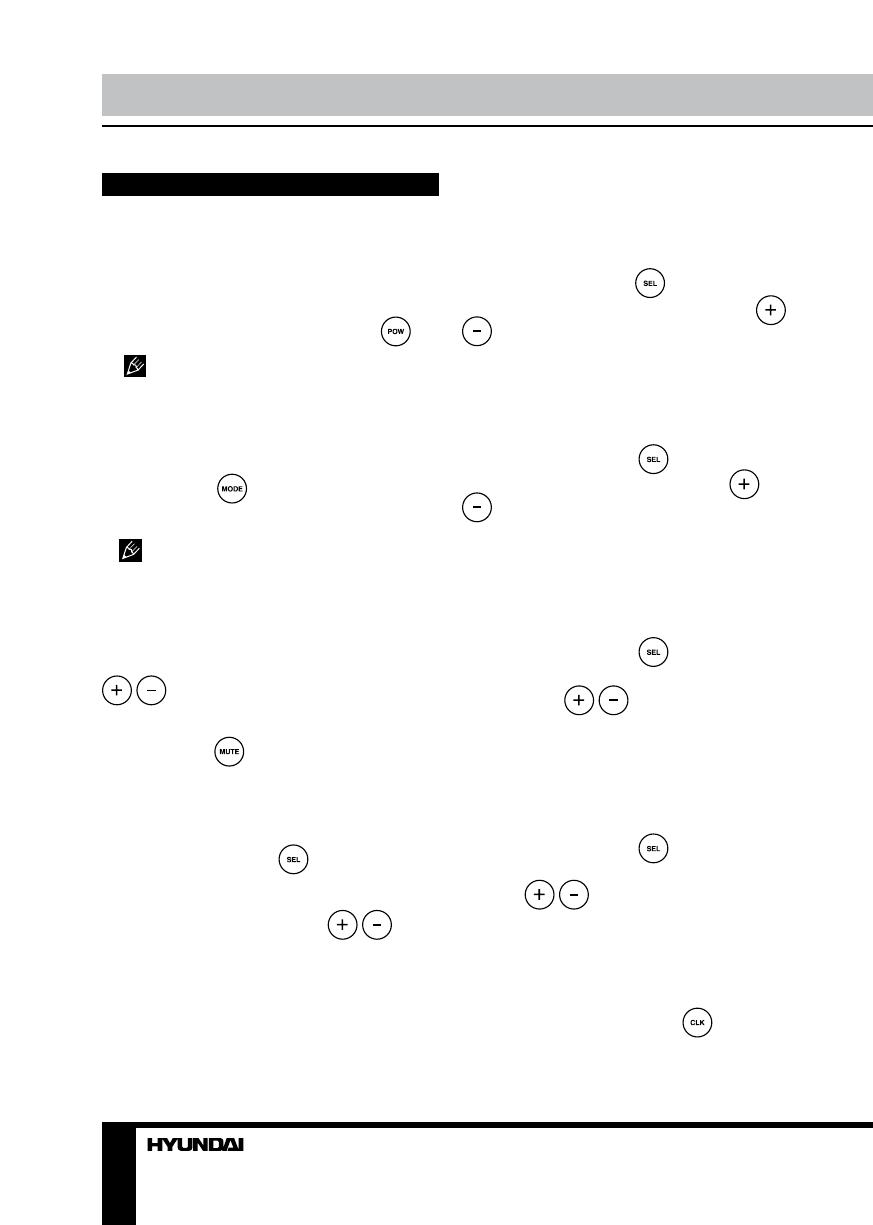
General operations
Turning on/off
Mode selecting
Volume control
Mute function
Audio parameter setting
Beep
Equalizer modes
Loudness
Color
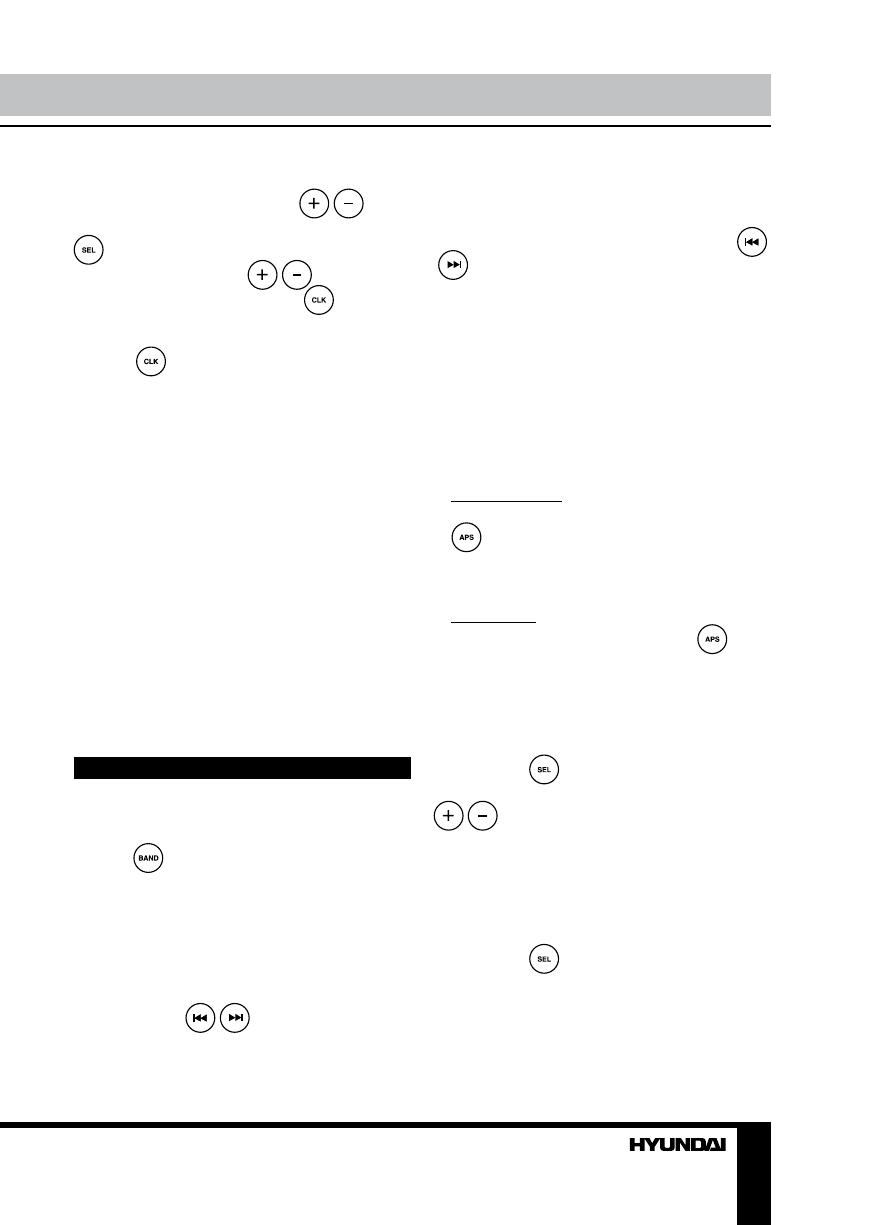
Clock setting
Operation Operation
Subwoofer control
AUX in jack
Radio operations
Band select
Auto/Manual tuning
Programming tuner stations
Automatic store/preset scan
Mono/Stereo control
Local radio station search
Operation
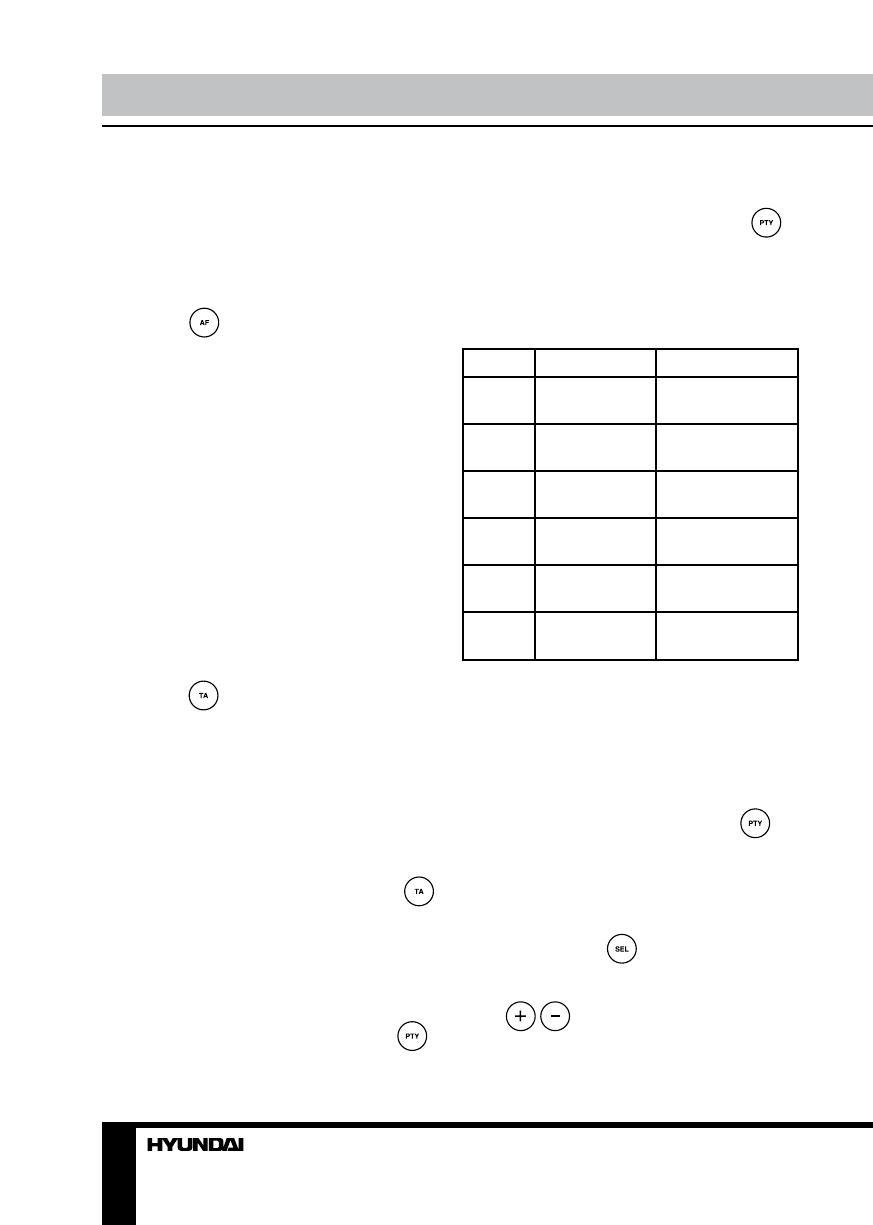
RDS function
AF (alternative frequencies) function
TA (Traffic Alarm) function
PTY (Program Type)
Button Music group Speech group
Other parameter setting

Operation
Disc/USB/SD/MMC operations
USB/SD/MMC notes
Insert/Eject discs
Inserting the SD/MMC card/USB
device
USB/SD/MMC folder playback
MP3/WMA track search
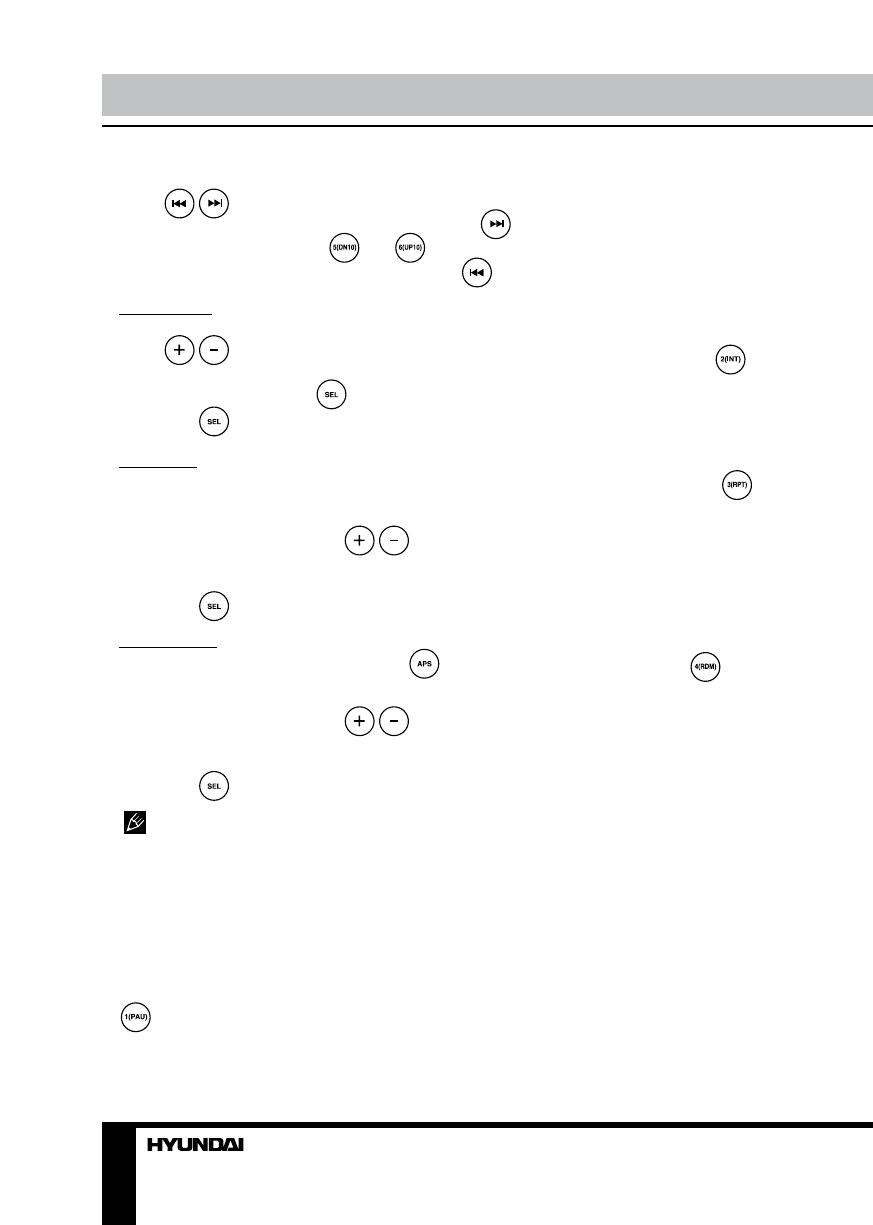
Operation
Fast Forward/rewind
Scanning tracks
Repeat
Random playback
Multi-session disc reading
Notes on MP3 and WMA
Play/pause

Operation
Notes on creating your own CD-Rs
or CD-RWs containing MP3 files
General information
Handling compact discs
Cleaning discs
Cleaning the unit body
Accessories
General information
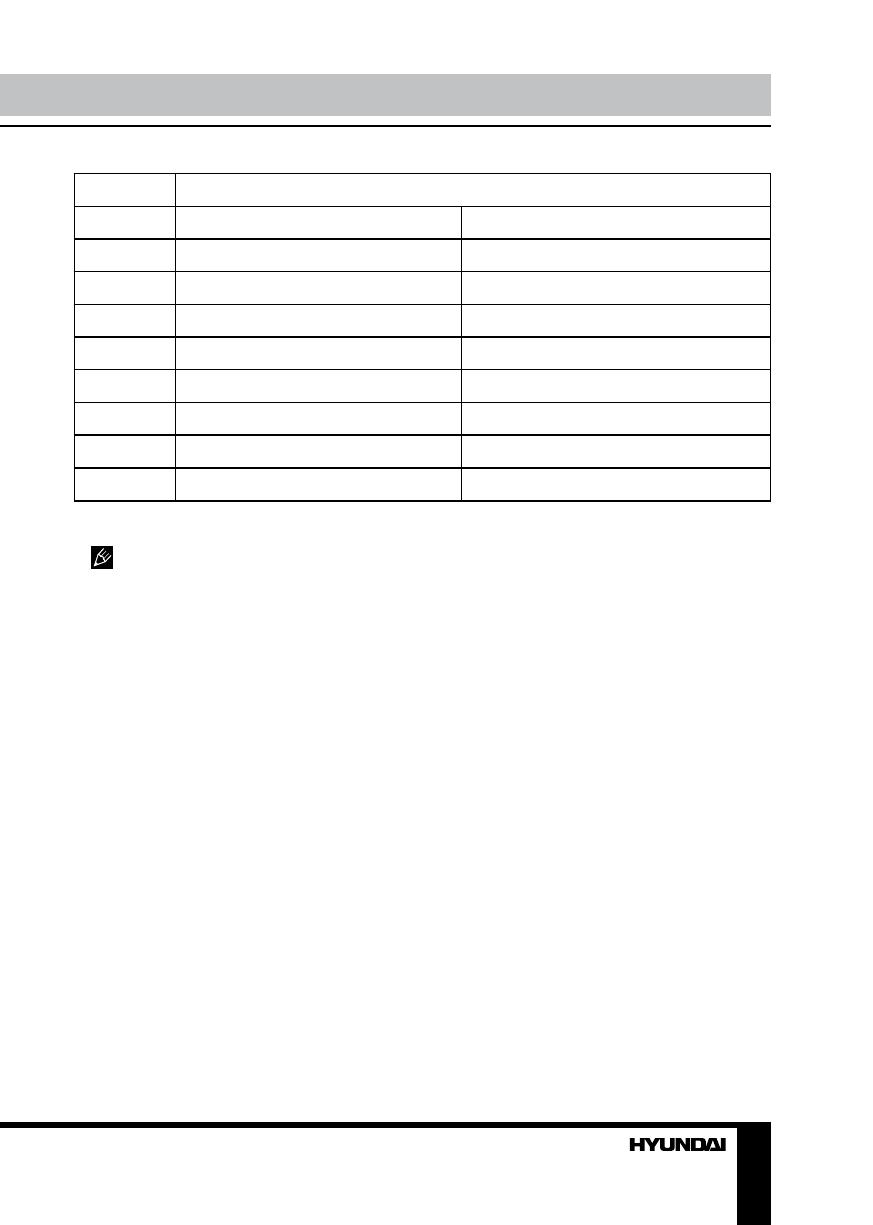
Troubleshooting
Symptom Cause Solution
Specifications
General
FM stereo radio
MW Section
Disc player
≤
≤
Line out
General information Содержание
Страницы и текст этой инструкции
 Инструкция — H-CDM8035
 Информация отображена на картинке
 Информация отображена на картинке
 Информация отображена на картинке
 Информация отображена на картинке
Как использовать наш сайт инструкций OnlineManuals.ru
Наша цель состоит в том, чтобы предоставить вам быстрый доступ к содержанию инструкции для — H-CDM8035.
С помощью онлайн просмотра, Вы можете быстро просмотреть содержимое инструкции и найти решение проблемы с — H-CDM8035.
Для Вашего удобства
Если листать руководство пользователя — H-CDM8035 прямо на сайте, не очень удобно для Вас, есть два возможных решения:
• Просмотр в полноэкранном режиме — легко просмотреть руководство пользователя (без загрузки его на свой компьютер), Вы можете использовать режим полноэкранного просмотра.
Для просмотра инструкции пользователя — H-CDM8035 на полном экране, используйте кнопку «Открыть в Pdf-viewer».
• Загрузка на компьютер — Вы можете также скачать Инструкция — H-CDM8035 на свой компьютер и сохранить его в файлах.
Многие люди предпочитают читать документы не на экране, а в печатной версии.
Возможность печати руководства пользователя также была предусмотрена на нашем сайте,
и вы можете использовать ее, нажав на иконку «печать» в Pdf-viewer.
Нет необходимости печатать все руководство — H-CDM8035, можно выбрать только нужные страницы инструкции.
Инструкцию для Hyundai H-CDM8035/R/G Black на русском языке, в формате pdf можно скачать с нашего сайта. Наш каталог предоставляем Вам инструкцию производителя фирмы Hyundai, которая была взята из открытых источников. Ознакомившись с руководством по эксплуатации от Hyundai, Вы на все 100% и правильно сможете воспользоваться всеми функциями устройства.
Для сохранения инструкции «Автомобильная магнитола с DVD + монитор Hyundai H-CDM8035/R/G Black» на русском языке на вашем компьютере либо телефоне, нажмите кнопку «Скачать инструкцию». Если активна кнопка «Инструкция онлайн», то Вы можете просмотреть документ (manual), в своём браузере онлайн.
Если у Вас нет возможности скачать инструкцию по эксплуатации либо просмотреть её, Вы можете поделиться ссылкой на эту страницу в социальных сетях и при удобном моменте скачать инструкцию. Либо добавьте эту страницу в закладки Вашего браузера, нажав кнопку «Добавить страницу в закладки браузера».
- Инструкции →
- Автотехника →
- Автомагнитолы →
- Hyundai →
- Hyundai H-CDM8035
Модель, к которой подходит эта инструкция: Hyundai H-CDM8035
Скачать инструкцию к Hyundai H-CDM8035 (643.7 Кб)
Данная инструкция написана на русском языке
Вопросы и отзывы о Hyundai H-CDM8035
Пожалуйста, если у вас есть вопрос или отзыв, напишите пару строк в форме ниже.
Если вы скачали инструкцию, но не смогли разобраться, как пользоваться той или иной функцией прибора,
напишите свой вопрос, наши специалисты постараются найти ответ на ваш вопрос.
-
06.04.2012,
валерий витальевич:
Скажите как поменять подсветку? -
20.04.2012,
Григорий:
День добрый! Подскажите пожалуйста, как поменять цвет дисплея? С покупки был светлый, а вчера как-то непонятно переключился на зеленый и совсем плохо видно информацию на дисплее.
С уважением, Григорий.