Last update: 04 July 2019
Controls are fortunately simple and very quickly become intuitive. Although the game always displays a small hint in the corner of the screen, it is worth remembering these few keys listed below.
You can control everything in the kitchen with the following keys: <br>
|
|
Left mouse button — Confirm \ Interaction \ Take \ Put down to container or plate \ Buy |
|
|
Right Mouse Button — Cancel \ Put back \ Rotate the item \ Cancel rotation |
|
|
Middle Mouse Button — Throw (hold to throw harder) \ Put (in «precise manipulation» mode) the held item |
|
|
Mouse wheel, Move Up\Down — Scroll lists \ Company or mode selection |
|
|
E — Lift \ Start stopwatch \ Clear with sponge \ Try liquid \ Change station (next to radio) |
|
|
Shift — The «precise manipulation» mode (free movement and object placing) \ Hold the sliced thing in place (when the «Steady Hands» ability is unlocked) |
|
Spacebar — Fast movement |
|
|
|
Q key — Enable or Disable grouping of components in a container (for example a pan) \ Rare contextual actions (such as the tap) |
|
|
N — (only Free Mode; not displayed in the tooltip) change the gravity settings |
|
|
Ctrl — Bend (to lift something off the floor for example) |
|
|
C — Hide / hide objectives panel |
<br>That’s a wrap — most of the keys work in context, and the actions and their keyboard shortcuts appear in the lower right corner of the screen.
For convenience, we’ll use abbreviated forms for the mouse buttons: LMB for left, RMB for right, and MMB for middle (the scroll).
Short list of game mechanics that are interesting and/or can be abused over the parts of Cooking Simulator that are scored, such as the Career Mode.
What is this about?
This is a collection of things that can help to know in modes where you are scored for your dishes, particularly the Career Mode. A lot of the buggy-sounding issues below are likely going to be patched if the game does receive more polish in the future, but until then…
The important points:
The order of steps don’t matter as long as you can make the exact same food that you would get later on. Apply spices in any order, or leave half-cooked ingredients around for later use, or skip ingredients entirely if it is not in the final product asked for.
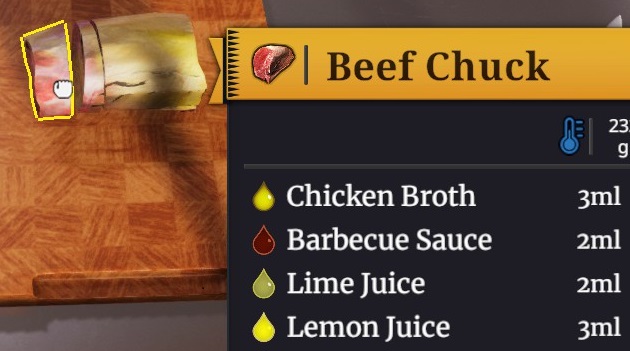
Solid foods ‘soak up’ liquids. The order of this soaking doesn’t matter, and you never need to specifically soak a mixture of liquids– so you can pour from a bottle instead of spending twenty years working with the 5mL ladle.
The heating method matters for score, which discourages blowtorching and microwaving, and re-heating. However, if your food has completely gone cold, you will want to do it anyway because heat is worth almost 1 entire star.
The Microwave on HI setting is nice for quick 10-second reheat… when it works, instead of bugging out. If it doesn’t, just forget about using it, you don’t really need it!
Recipe quirks
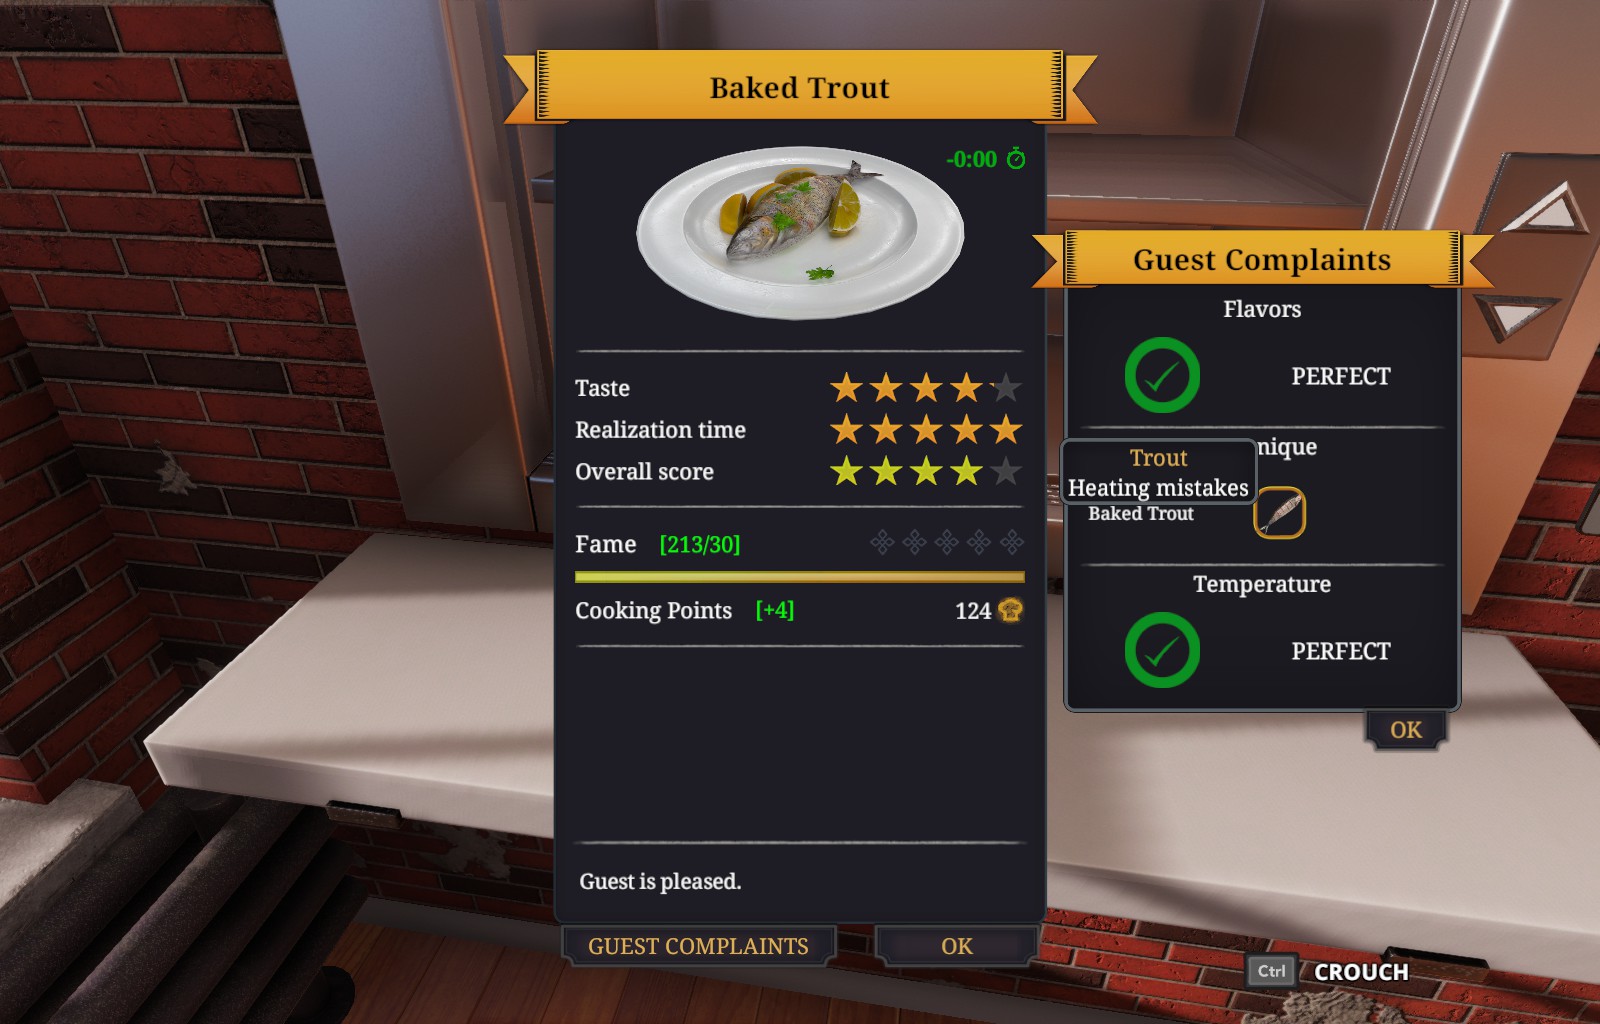
The game’s scoring relies on the correct amount of food, the right number of pieces (cuts), the correct weights for each piece, how close it is to being 100% cooked, the temperature before serving, the method used for heating (more later), and the flavouring distribution of each piece– of the final served dish. These may sound daunting at first, but it also means that nothing else actually matters:
- The order of application of spices or its distribution do not matter, as long as they all get applied to the necessary pieces. Which leads to..
- If the final dish doesn’t contain it, you don’t need it in the intermediate step. Beef Chuck with Potatoes and Garlic Sauce does not need the garlic for this reason; the game doesn’t know if a liquid has been in contact with a solid food (while the other way around works), so the garlic doesn’t actually do anything.
- Therefore, if the final dish doesn’t ask for it, absolutely avoid doing it. This has a consequence: for soup with garnishes, if the garnishes soak the soup, there may be score penalties because the recipe has never asked for a ‘garnish with flavourings’.
- The non-obvious aspect of the order not being important: some recipes will ask of you to apply spices, cook it, then apply spices again. You can instead cook and then apply all spices in the recipe, or the other way around. The Chinese Egg Drop Soup is very easy despite its tier, because you can add the egg and second half of the spices to the pot at the start of the recipe.
- Frying and boiling works in an odd way; the solid foods soak up the moisture of the surrounding liquids, and give back the juices of the solid foods back into the liquid (different from blended solid foods). This means that, if the final product does not concern the mixture liquid created from solid ingredients, drizzling is just as good, as long as you can get the correct amount. Salmon with Potatoes, for example, does not need salmon fried on oil; it can be fried on plain pan, with the oil drizzled later.
- The game doesn’t clearly express it, but the cookedness of things that get blended actually seem to matter post-blend. Cooking a Red Pepper and Tomato Soup with unbaked red pepper will result in flavour penalties.
Cooking process
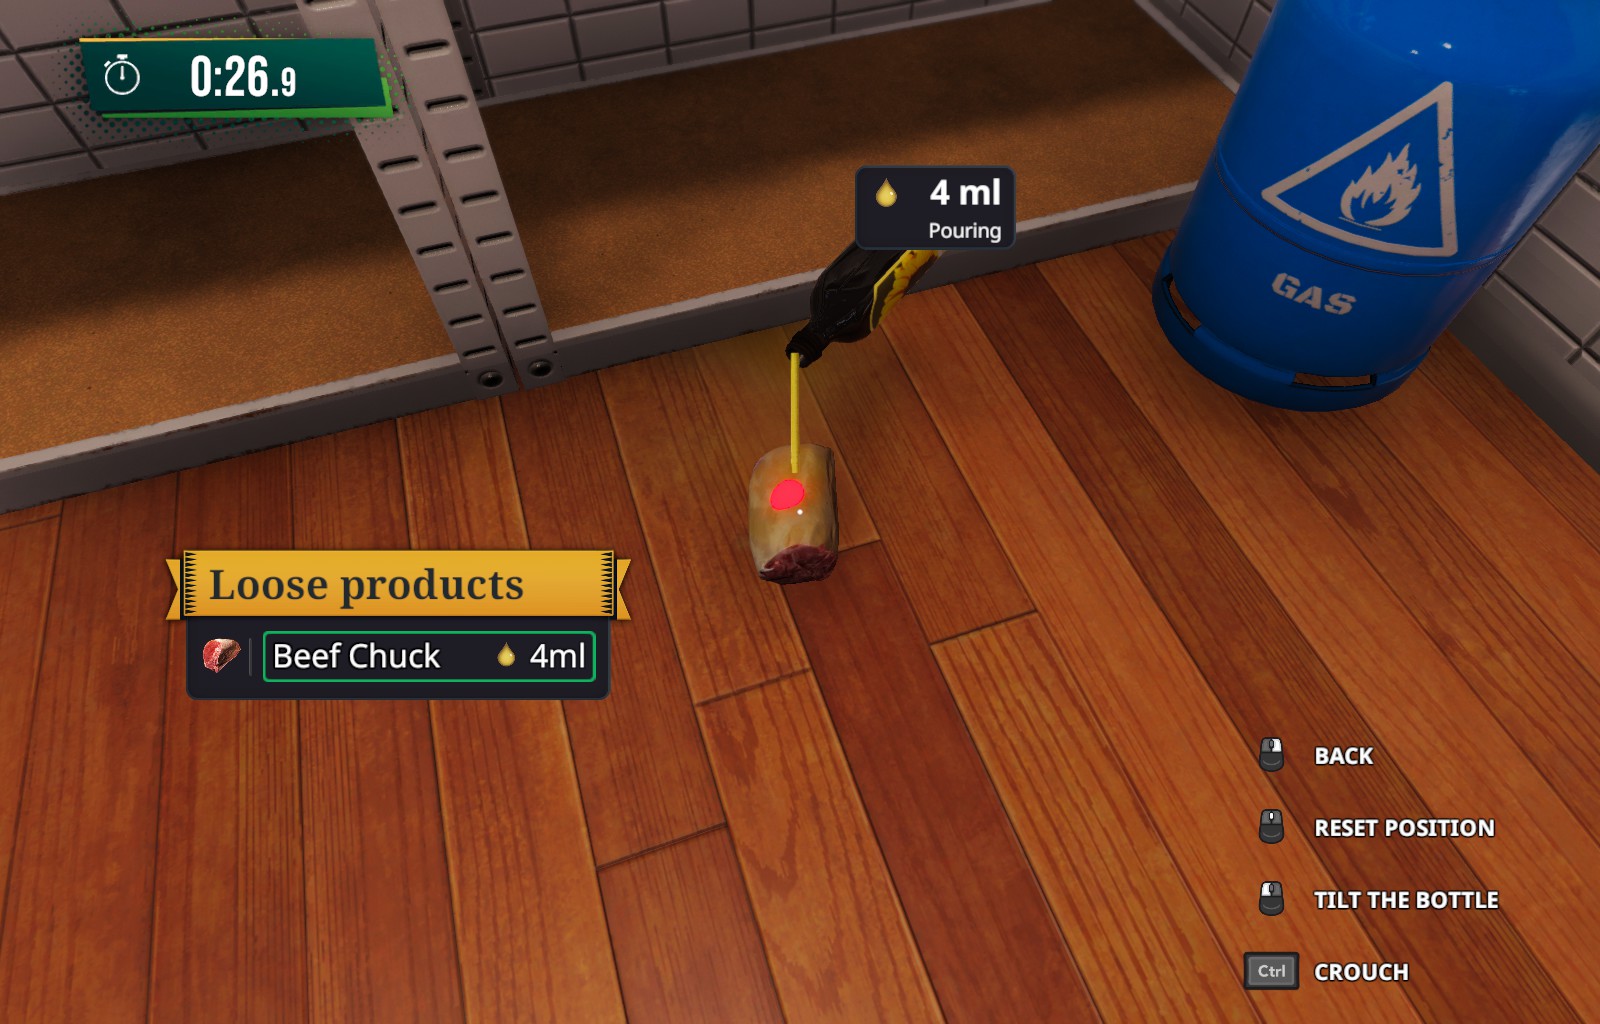
- If the recipe tells you to create a mixture of liquids and spices, and then drizzle it onto the ingredients, forget about the ‘drizzling’ part entirely; pour and dash the individual parts directly onto the food. The aiming mechanics for dashing/pouring from base ingredients are far easier than drizzling from a mixture.
- The size of red dot that shows when pouring liquids or shaking spices matter. If the object below is too small, it will receive less flavours.
- Using the above two points, if the recipe asks of drizzling liquids onto ingredients, do that before you cut the ingredients to pieces. The flavourings are considered to be fully distributed over the entire ingredient, even if the visuals clearly don’t suggest that.
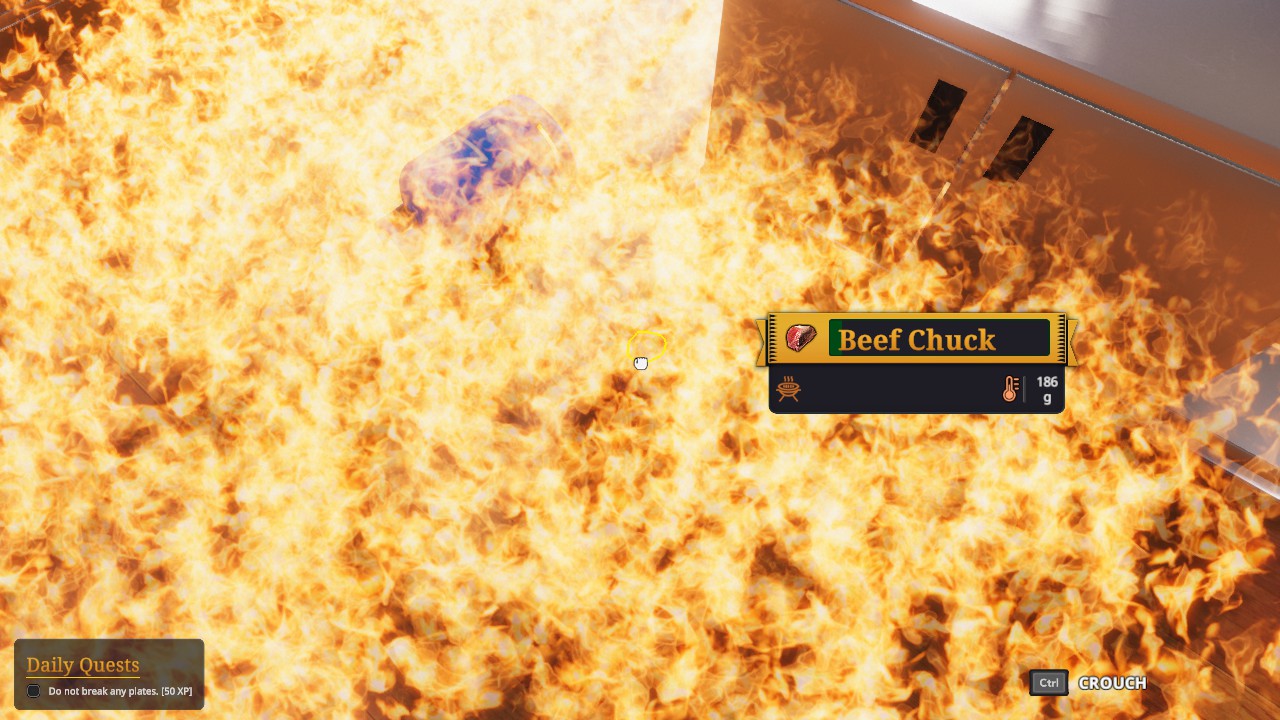
- Forget all concerns for safety and cleanliness. Once you get the perk for handling hot food, you can forget about using baking trays and chuck everything into the oven.
- When in panic, you can try to check off everything that gives score except for the most time-consuming part: having to fully cook something. Even though if in real life, you would most likely end up with an angry/sick customer and lawsuits this way, you’ll still get a pleased customer if the rest of the food isn’t too reliant on cooking:
- if you’re in a real hurry, you can try to skip out on entire components of a food. You’ll most likely lose out on fame points, but you still get paid and receive EXP.
Heating methods
The important part of heating is that different methods of heating add their own “heating method points”– and if you add heating methods that aren’t asked for, you lose score.
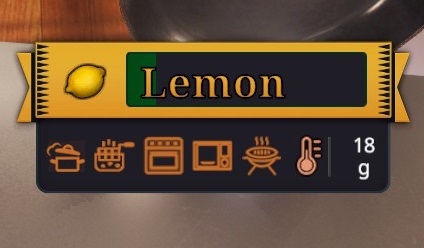
When you have cooked something perfectly with a certain method, the corresponding icon will flash red. This will coincide with the overall cookedness of the food if you’ve only cooked with one method, indicated by the green bar filling up the name. Therefore, further cooking after this will reduce points.
Because the cookedness does not decrease over time, while temperature does, you’ll incur a slight penalty for re-heating any food in any method.
- The blowtorch is an extremely fast cooker, easily cooking twice~thrice the speed of stoves and ovens. However, like the microwave, it only cooks in its own heating method type (despite the icon suggesting it to be Baked type). This can be circumvented, however:
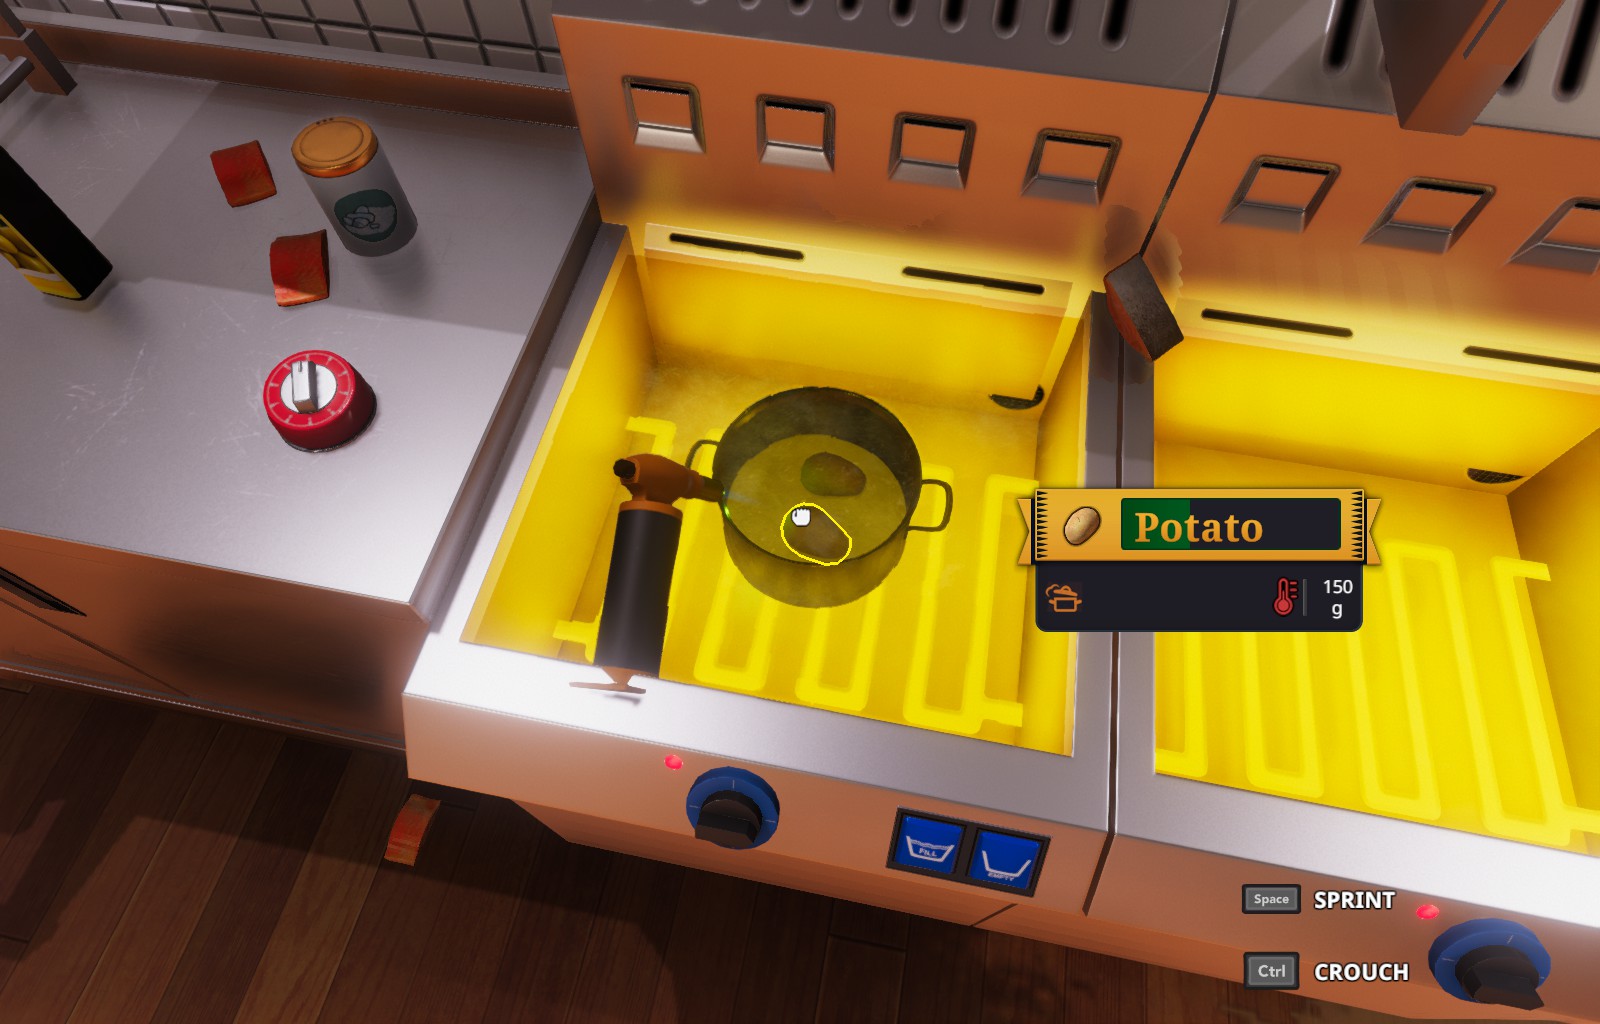
- If you have solid ingredients sitting in a liquid that is mostly (over 50%) non-oils, any methods of applying heat will make it considered boiled. Doing that on the grill, in the stove, or even the deep fryer will not change this. You can hear clear water dunking sounds when the liquid meets this criteria and you put a solid ingredient in.
- Similarly, ingredients sitting in a liquid that is mostly oils (includes juices from fried meats) will cause a fried status, regardless of the heating medium. Unique to frying is that applying heat directly from the stove will also work. However, using anything but pans for foods that require flipping over (eg. salmon) will get glitchy and refuse to let you cook the other side.
- Baking happens from the oven, and the deep fryer that is activated without filling it with oil. That said, keep all deep fryers filled with oil to avoid some score penalties on accidentally baking your fries.
Microwave
The ‘heating methods points’ explains why using the microwave is not preferred: no recipes will use the microwave, and the perfect temperature points are slightly offset by the wrong heating method deductions.
If you really feel like microwaving, 10~15 seconds in the HI setting can reheat a perfectly cold food into the good temperature. Halve the time for medium-temperature foods. There seems to be zero benefit to using the LO or the MED setting, besides taking slower to do the exact same thing.
In addition, for re-heating cold foods, you always have other alternative solutions:
- If your food takes a long time to cook (+minute) then the temperature will rise faster than it will overcook. Re-heat it in the original method that it was meant to be heated. If you are working with a large pot of soup, this may be faster in the long run since you don’t need to reheat individual dishes– and you can’t really microwave the big pot.
- Don’t even bother re-heating, if you’re running out of time. You’ll have a slight point penalty no matter what you do, anyway.
- If you’re feeling experimental, and you’ve fully understood the cooking method overriding tricks from the previous section, you can try them with the microwave. However, I’ve personally had very inconsistent, glitchy results with it– for example, microwaving a solid food sitting in water can sometimes lead to boiling effect, but sometimes microwaved effect.
Moreover, the microwave seems to work very inconsistently over different patches. If you find that microwaving an object simply isn’t heating it up– don’t use it! The game clearly doesn’t want you using it, anyway.
Career Mode
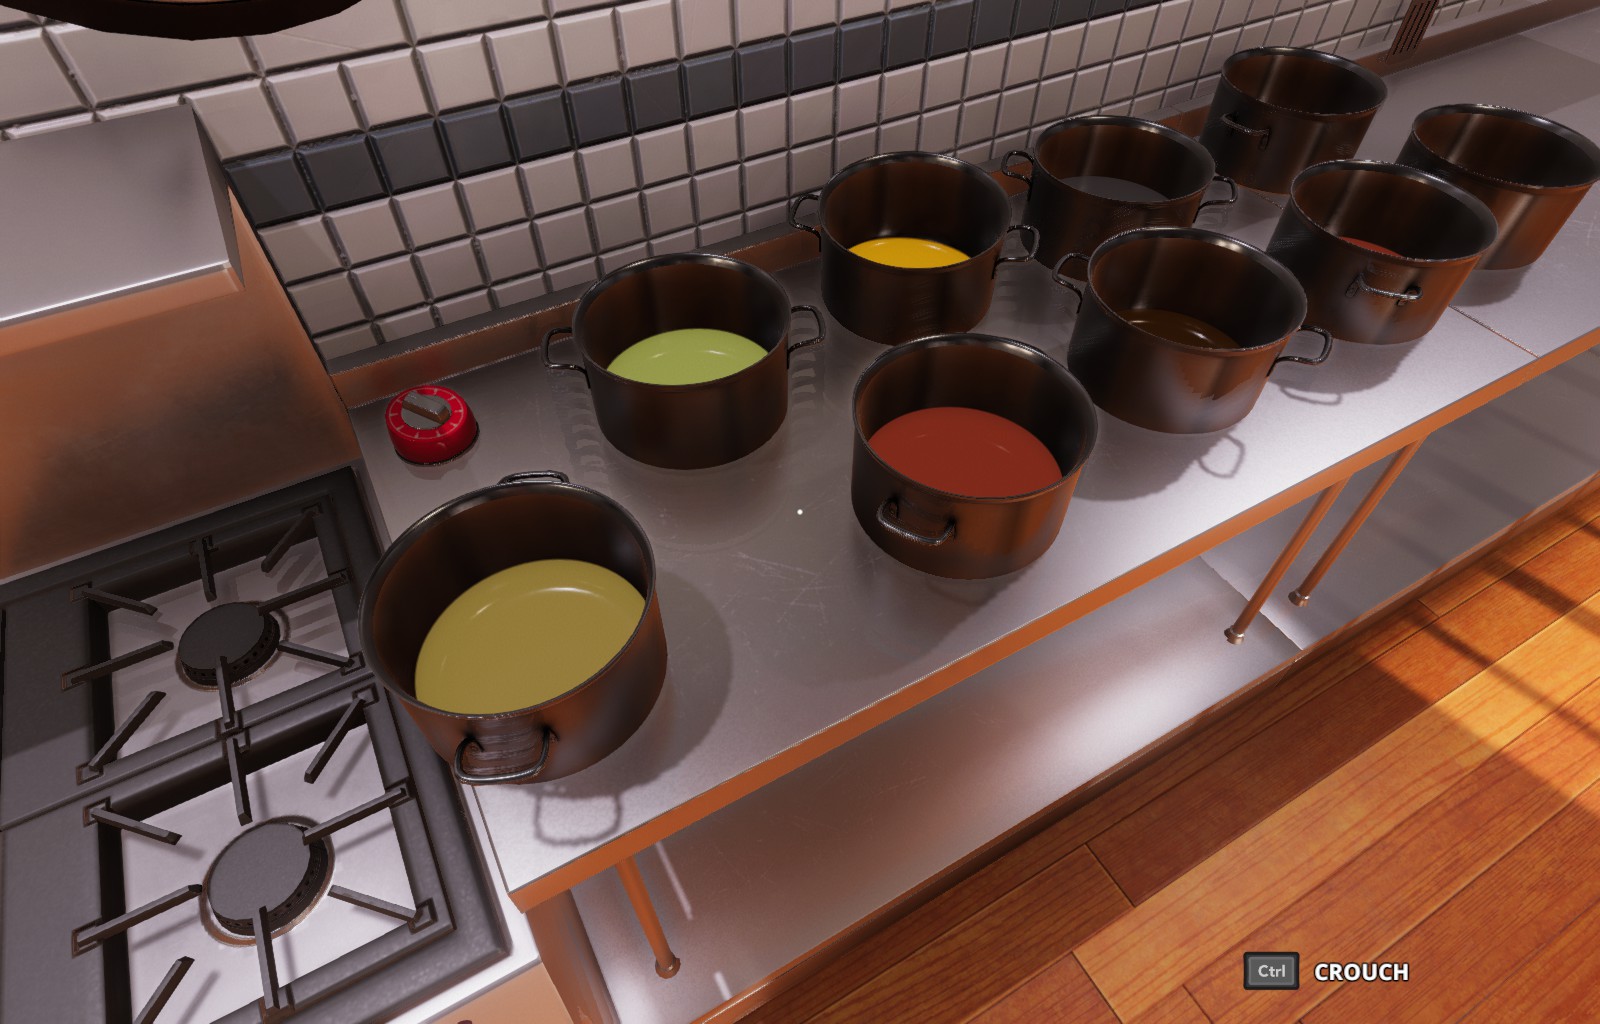
There is never a shortage of customers. Therefore, getting to fame level 5 is all about spamming dishes with the best fame-points-per-second. Taking advantage of this becomes the matter of using your prep time per day, and never upgrading recipes. Make multiple litres of easy soups, leaving them in many big pots, and heating them up directly before serving as needed. These are:
- Tomato Soup (+ Red Pepper)
- Fast Pumpkin Soup
- Chinese Egg Drop Soup
- Gazpacho
- Borsht
And some of the unupgraded, beginner recipes:
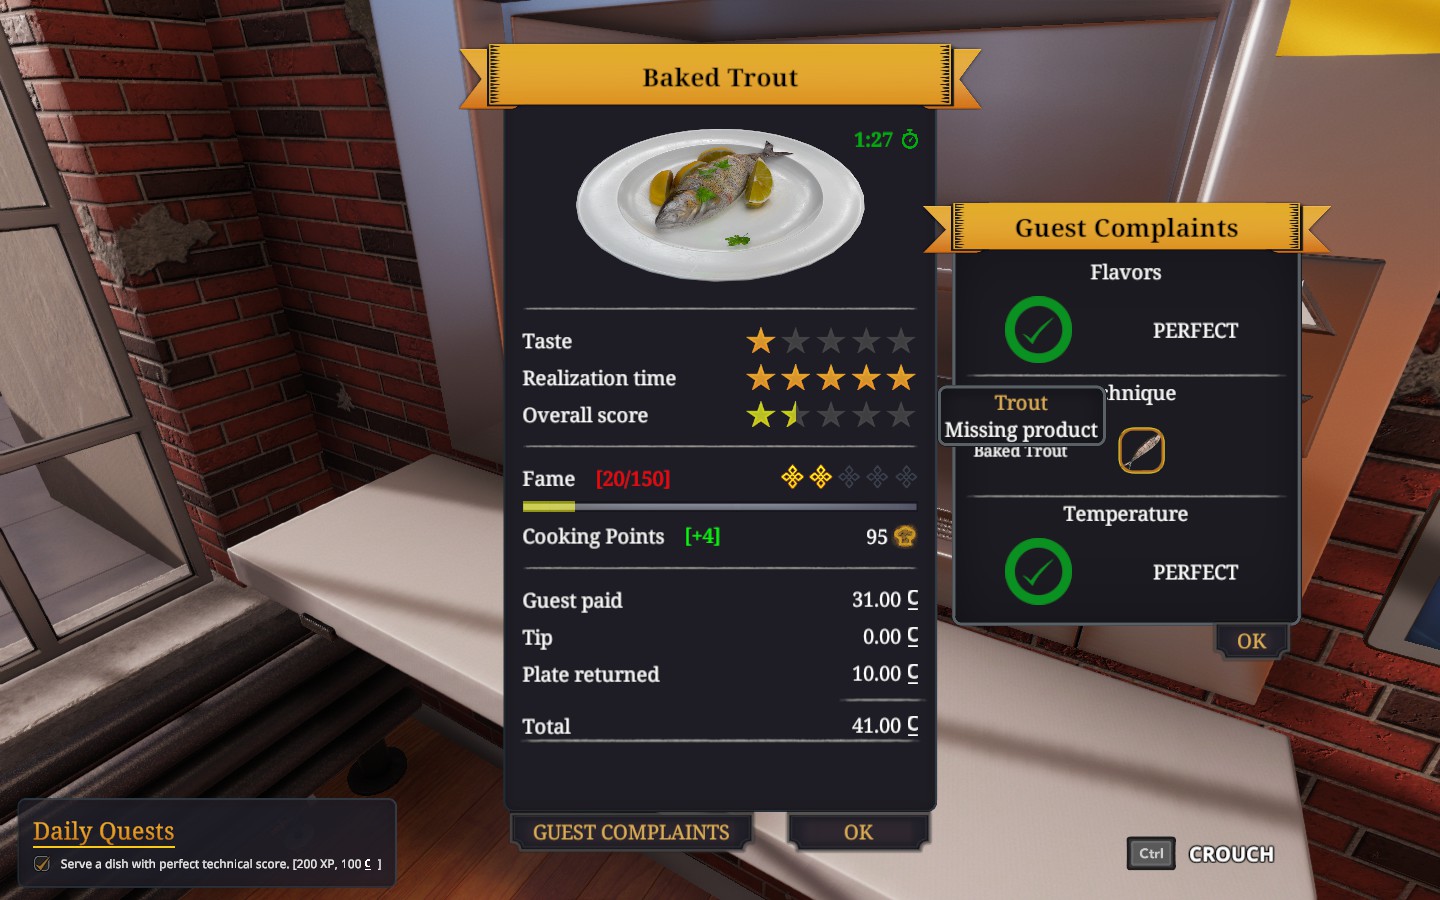
- Baked Trout: Prepare multiple trouts, each half cooked, pre-spiced with 5g of all listed spices (including horseradishes, as explained earlier), and quartered lemons. Fill the last half of the cookedness bar for the trout every time there’s an order.
- Salmon with Potatoes: Prepare salmons, fully cooked on one side. Temperature will take care of itself when you receive orders and cook the other side. Prepare big pots with water, salt, and potatoes.
If grills break down and you don’t have much time left to wait for the repair stage, you can try torching the ingredients. Or torching the ground underneath the ingredients.
Final notes
As can be seen, the efficient ways of playing the scored modes end up being boring and stupid. For maximum fun, play Sandbox. Break stuff instead.
This is all for Cooking Simulator Game Mechanics and Basic Gameplay Tips – Beginners Guide hope you enjoy the post. If you believe we forget or we should update the post please let us know via comment, we will try our best to fix how fast is possible! Have a great day!
Whether you’re already a master in the kitchen or just getting started, Cooking Simulator is a fun way to practice your culinary skills. But you know what mom used to say: “if you’re going to make a mess in the kitchen, you better clean it up!” The same applies in the video game, too, I’m afraid, so here’s how to clean in Cooking Simulator if you’ve been avoiding it for way too long.
During the cleaning phase, there are a couple of things you’ll need to know in order to keep things spick and span. First, what the cleaning instruments are. You can use a sponge or mop to clean the kitchen, and broken glass can be thrown into the trash bin.
Using cleaning instruments is as simple as locating them in the kitchen, interacting with them, and then using them on the desired location/spillage.
For those that are struggling with finishing their cooking session in a timely manner, our advice is to keep your cooking operation as tidy as possible.
It’s important to remember that there are three phases to each cooking session (prep, cooking, cleaning), and each is related to one another.
Making sure that you’re as efficient as possible across all three phases will ensure a quick and easy tidy up once you’ve completed your orders.
Always use a chopping board, for example, and when you have liquids that need to be dispensed of, throw these in the trash can rather than down the sink. As it happens, cleaning the sink is much more time-consuming and difficult.
As you progress through the game, one handy perk to unlock is called ‘Fairy Touch,’ which allows you to clean the whole kitchen instantly.
As for equipment, over time you’ll find that certain kitchen apparatus ceases to function properly after they begin to appear rusty or dirty, such as the oven. For this, you’ll need to use your cell phone to call a repairman.
That does it for how to clean in Cooking Simulator. For more useful tips and guides on the game, be sure to search Twinfinite.
Alex Gibson
Alex was a Senior Editor at Twinfinite and worked on the site between January 2017 and March 2023. He covered the ins and outs of Valorant extensively, and frequently provided expert insight into the esports scene and wider video games industry. He was a self-proclaimed history & meteorological expert, and knew about games too. Playing Games Since: 1991, Favorite Genres: RPG, Action
More Stories by Alex Gibson
Перейти к контенту

Cooking Simulator : Как купить ингредиенты. Cooking Simulator VR — это адаптация популярной кулинарной игры-симулятора виртуальной реальности, в которой игроки могут испытать острые ощущения от роли шеф-повара на виртуальной кухне. Он обеспечивает захватывающий кулинарный опыт с помощью технологии виртуальной реальности. Вот некоторые ключевые функции и элементы игрового процесса Cooking Simulator VR
В Cooking Simulator покупка ингредиентов является неотъемлемой частью приготовления ваших блюд.
Cooking Simulator: как купить ингредиенты
Пошаговая инструкция руководство по покупке ингредиентов в игре:
- Откройте планшет: Начните с открытия внутриигрового планшета. Планшет служит основным интерфейсом для управления различными аспектами приготовления пищи, включая покупку ингредиентов.
- Перейдите на вкладку «Покупки». В планшете найдите вкладку или значок «Покупки». . Обычно он представлен символом корзины или сумки. Нажмите или выберите вкладку «Покупки», чтобы получить доступ к виртуальному магазину, где можно приобрести ингредиенты.
- Просмотреть магазин: один развы находитесь в виртуальном магазине, вы увидите набор ингредиентов, доступных для покупки. Это могут быть мясо, овощи, фрукты, специи, молочные продукты и многое другое. Используйте элементы управления или взаимодействия, характерные для игры (например, щелчки, прокрутку или использование виртуальных рук), чтобы просматривать доступные предметы.
- Выберите ингредиенты: выберите нужные ингредиенты. купить, нажав или выбрав их в виртуальном магазине. В игре могут быть возможности добавления ингредиентов в корзину или корзину.
Подробнее:Симулятор кулинарии: Как отремонтировать газовую плиту
- Подтверждение и покупка: выбрав нужные ингредиенты, проверьте свой выбор и подтвердите покупку. В игре может потребоваться нажать определенную кнопку или следовать инструкциям на экране, чтобы завершить транзакцию.
- Доставка или мгновенное пополнение запасов: В зависимости от механики игры существует два распространенных способа получения купленных ингредиентов: а. Доставка: некоторые игры имитируют процесс доставки. После покупки ингредиентов вам, возможно, придется подождать, пока виртуальный курьер или служба доставки доставят ингредиенты на вашу виртуальную кухню. Это добавляет реалистичности игре.b. Мгновенное пополнение запасов: другие игры могут мгновенно пополнить вашу виртуальную кухню купленными ингредиентами. Они волшебным образом появятся в вашем инвентаре или на складе, готовые к использованию в ваших рецептах.
- Используйте ингредиенты: Как только ингредиенты будут в вашем распоряжении, вы можете использовать их в приготовлении пищи. Возьмите их из своего инвентаря или хранилища и включите в свои рецепты по мере необходимости.
Помните, что точный процесс покупки ингредиентов в Cooking Simulator может различаться в зависимости от конкретной версии или обновлений игры. Всегда обращайтесь к внутриигровым инструкциям, руководствам или документации для получения точных указаний по покупке ингредиентов.
Наслаждайтесь покупкой ингредиентов и приготовлением вкусных блюд в Cooking Simulator!
Часто задаваемые вопросы
Как купить ингредиенты в Cooking Simulator?
- Открыть планшет
- Перейти к вкладка «Покупки»
- Просмотреть магазин: один раз
- Выбрать ингредиенты
- Подтвердить и купить
- Доставка или мгновенное пополнение запасов
- Используйте ингредиенты
На чтение 2 мин Просмотров 2.6к. Опубликовано
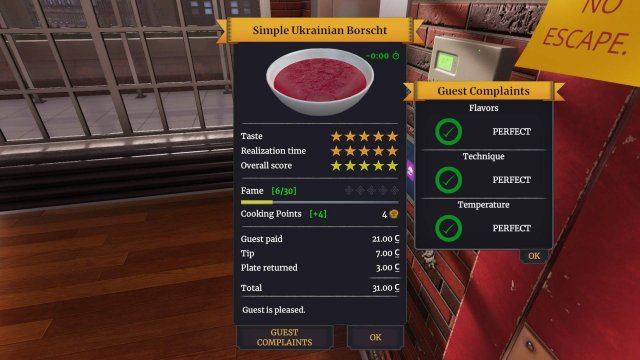
Рецепт простого украинского борща.
Содержание
- Ингредиенты:
- Пошаговый рецепт:
- Подсказки
Ингредиенты:
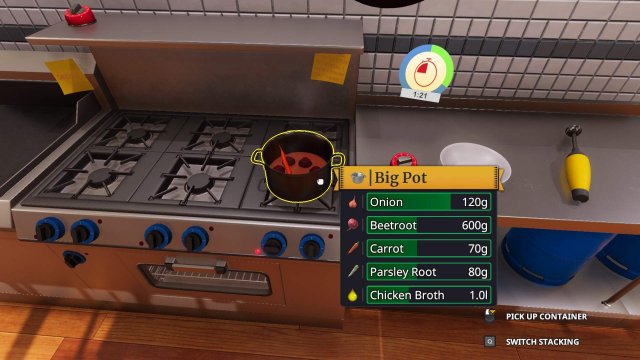
- Куриный бульон (1000 мл).
- Соль (20 г).
- Черный перец (20 г).
- Свекла (600 г).
- Лук (120 г).
- Морковь (70 г).
- Корень петрушки (80 г).
Необходимая посуда для приготовления:
- Кастрюля
- Глубокая тарелка
Пошаговый рецепт:
- Возьмите кастрюлю и залейте туда весь куриный бульон (ровно 1000 мл).
- Посолите (20 г) и поперчите (20 г). Вы можете удерживать ЛКМ, чтобы остановиться ровно на отметке в 20 грамм.
- Уберите пока кастрюлю и возьмите следующие продукты: 5 свеклы, 1 луковицу, 1 морковь, петрушку.
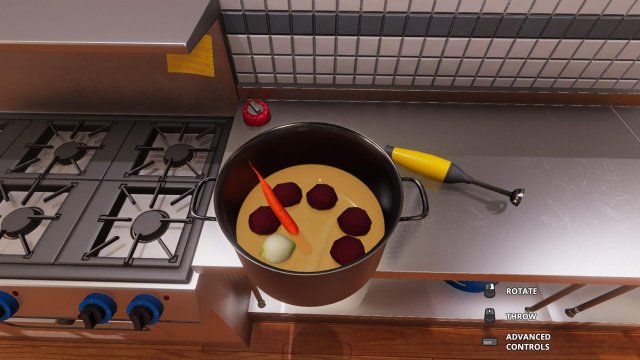
- Удерживайте Shift и двигайте мышью, чтобы убедиться, что все ингредиенты погружены в кастрюле (это очень важно, иначе блюдо может не получится). Вы должны хотя бы наполовину погрузить овощи в кастрюле.
Вот как это выглядит, когда все ингредиенты в кастрюле.
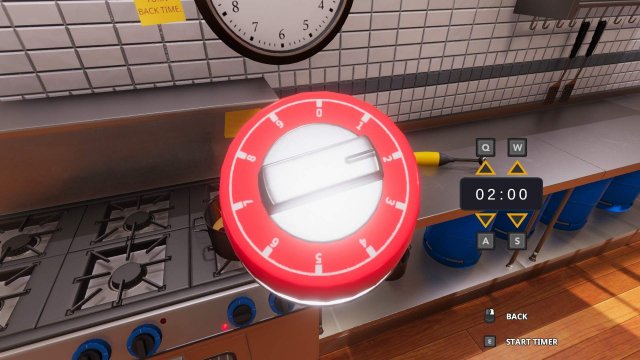
- Варите 120 секунд (2 минуты), а затем возьмите глубокую тарелку.
Если вы не используете таймер. То сможете определить время по шкале Chicken Broth / Soup. Должно достигнуть максимума.
Не беспокойтесь о том, что передержите на огне, эти овощи не могут перевариться.
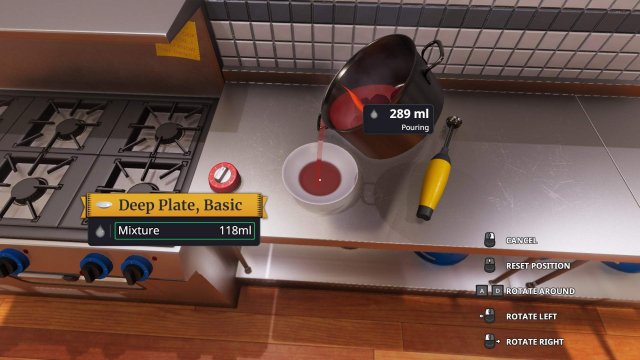
- Выключите огонь, возьмите кастрюлю и медленно налейте в глубокую тарелку, используя ЛКМ. Попробуйте достигнуть отметки 300 мл.
- Можно подавать блюдо!
Подсказки
- Убедиться, что все ингредиенты погружены. (Shift + ЛКМ).
- Всегда наклоняйте емкость медленно при переливании в глубокую тарелку.

